

Bringing Herringbone Style Into Your Melbourne Home
Herringbone Flooring has become a standout choice for homeowners across Melbourne who want a flooring pattern that feels refined, architectural, and timeless. Its dynamic zig-zag layout elevates both modern and traditional interiors, making it a popular upgrade during renovations and new builds. This guide explains how to install herringbone flooring step-by-step, tailored specifically for Dex Flooring customers throughout Melbourne.
Installing herringbone requires more planning and precision than a standard straight-lay floor, but with the right tools, preparation, and process, you can achieve a clean, elegant result that transforms any space.
What Is Herringbone Flooring?
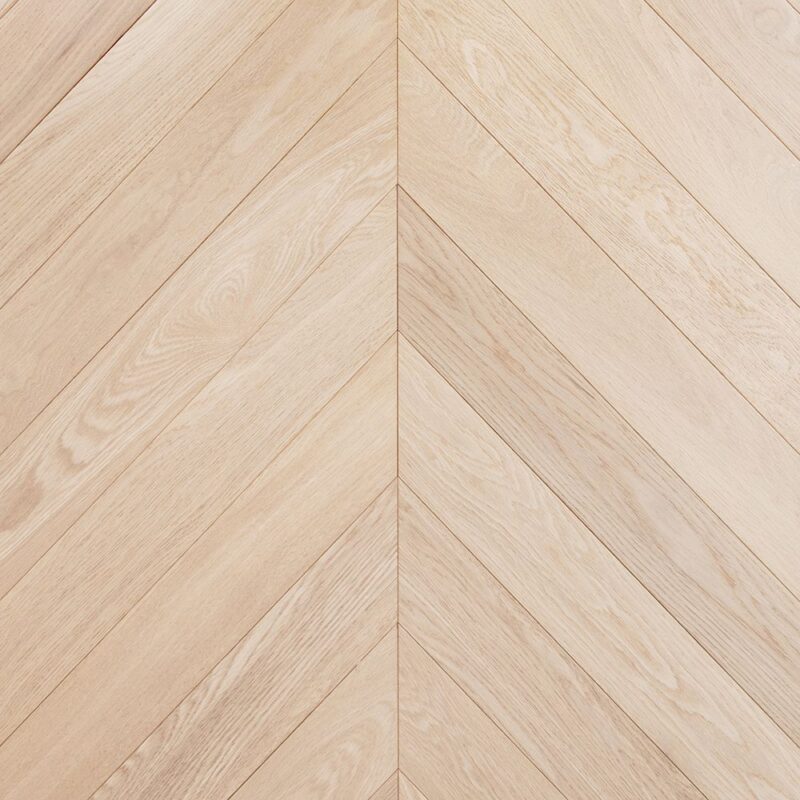
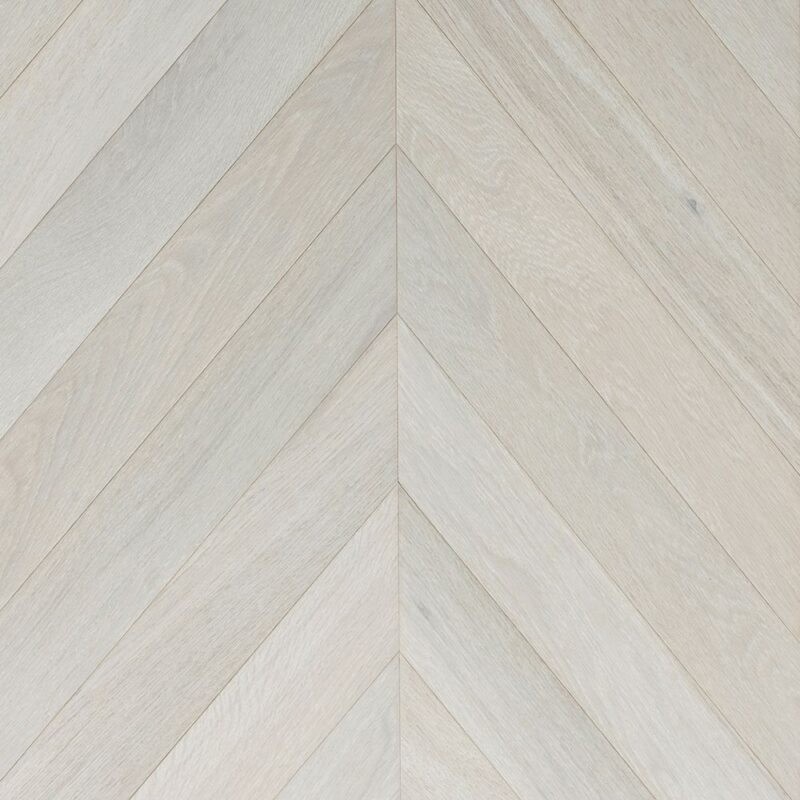
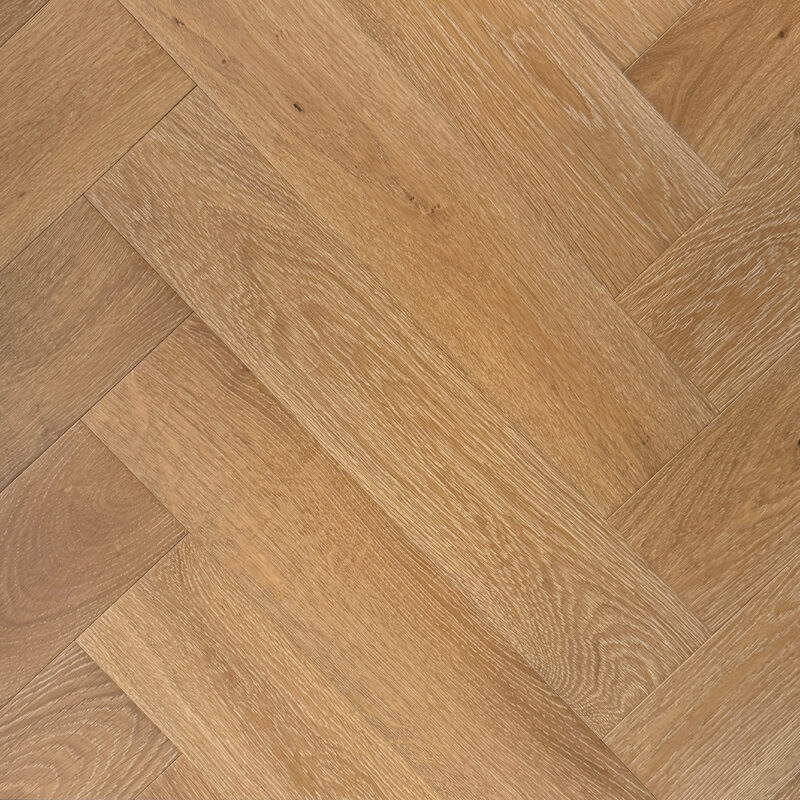
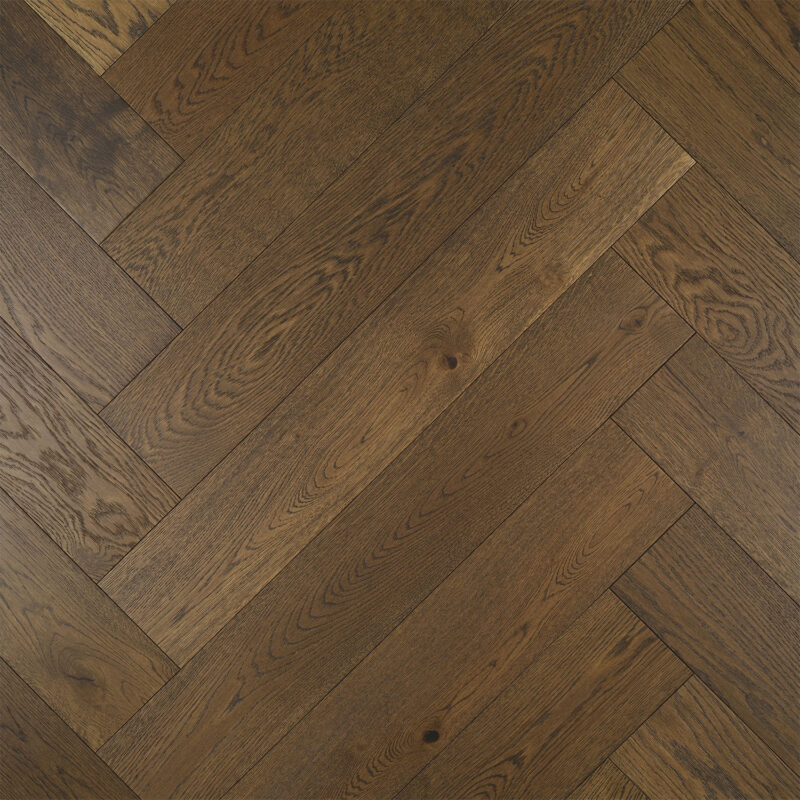
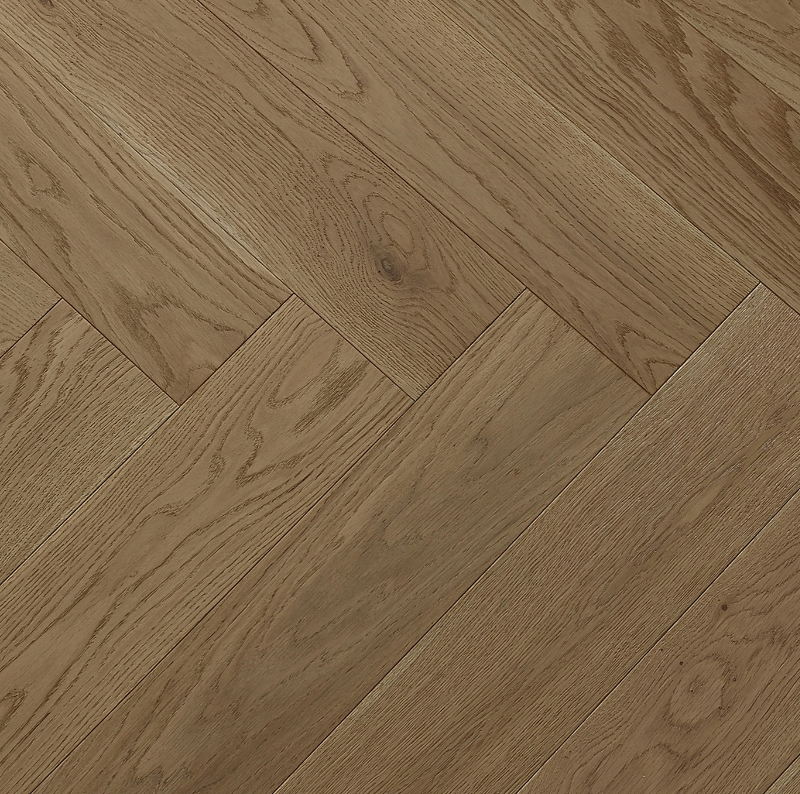
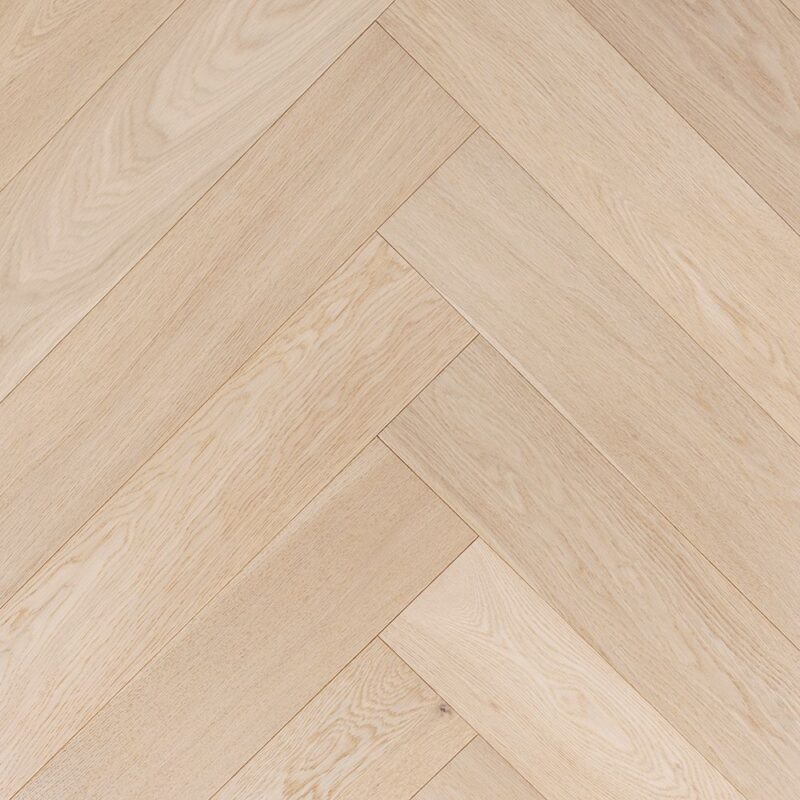
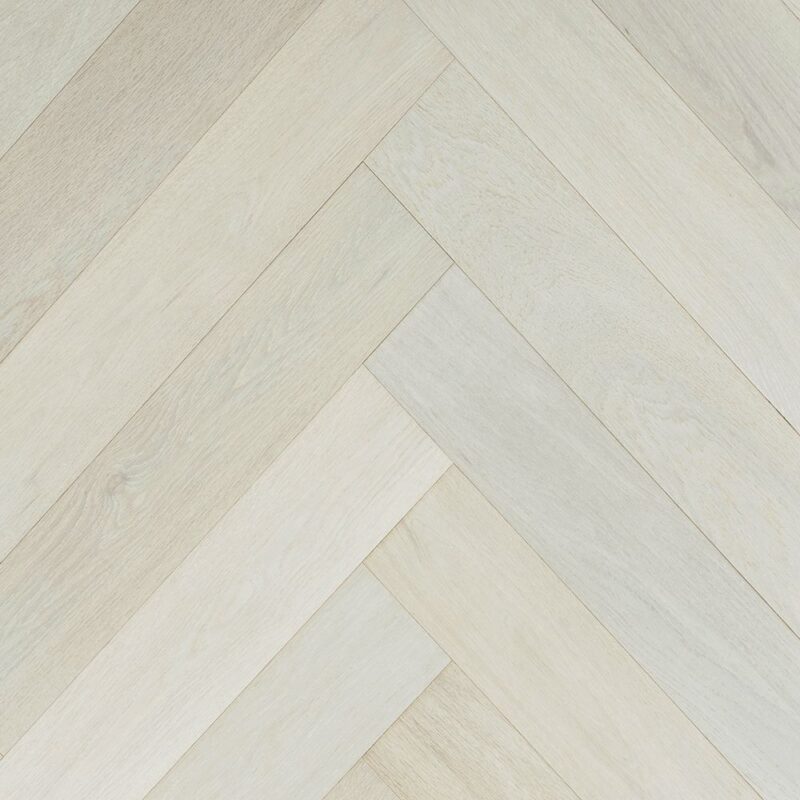
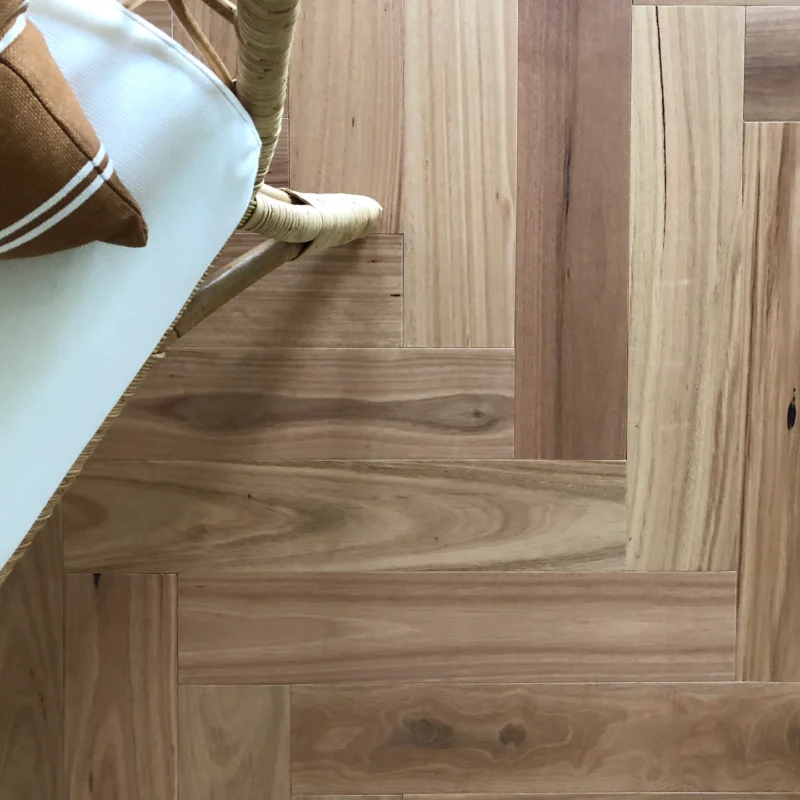
Herringbone is a patterned flooring installation where rectangular boards meet at 90-degree angles, forming a broken zig‑zag effect. It differs from chevron flooring, where boards meet at a point. Herringbone is known for:
- Timeless designer appeal
- A premium architectural look
- Visual depth in both small and large rooms
- Compatibility with engineered timber, laminate, and hybrid products
Its geometric structure stabilises the floor and helps distribute movement, making it suitable for many Melbourne homes.
Tools & Materials Required
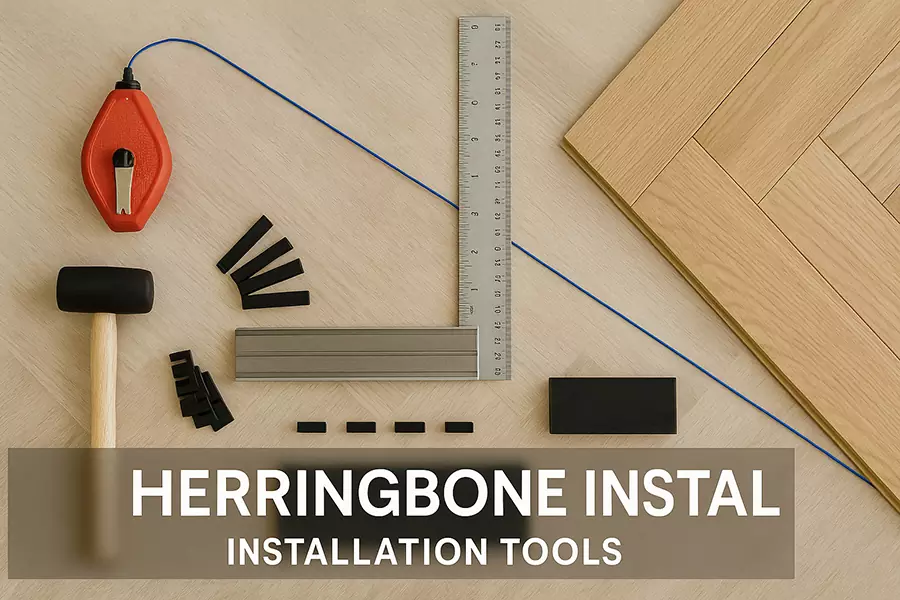
Before beginning installation, gather these essential items:
- Herringbone flooring boards
- Tape measure and pencil
- T-square or straightedge
- Chalk line or laser level
- Rubber mallet
- Tapping block
- Jigsaw or mitre saw
- Underlay (for floating floors)
- Flooring adhesive (for glue-down installation)
- Spacers
- Vacuum cleaner
These tools help maintain accuracy and prevent misalignment as the pattern progresses.

Bring Style & Durability to Your Floors
Discover modern flooring that perfectly matches your lifestyle
Our experts at Dex Flooring Nunawading are ready to help you choose your dream floor
Preparing the Subfloor
A flawless herringbone installation begins with correct subfloor preparation.
Clean the Subfloor
Vacuum thoroughly to remove all dust, grit, and debris. Even small particles can interfere with alignment.
Level the Surface
Herringbone patterns visually exaggerate imperfections. Ensure the subfloor is smooth, stable, and level. Use levelling compounds for concrete, and secure any loose timber boards.
Check for Moisture
Subfloors must meet moisture requirements for floating or glue-down installation. Excess moisture can damage boards over time.
How to Start Herringbone Flooring

Correct layout is the most important step in achieving a professional result.
Step 1 — Find the Centre of the Room
Use a chalk line or laser to establish the exact centre. This ensures the pattern appears symmetrical once complete.
Step 2 — Mark a Secondary Reference Line
This line guides the first boards and ensures the herringbone angle is exact.
Step 3 — Dry-Lay the First Rows
Place a few boards without fixing them permanently. This lets you assess:
- Direction of the pattern
- Evenness of the layout
- Visual flow across the room
Dry-laying minimises installation errors later.
Step-by-Step: How to Install Herringbone Flooring

Follow these detailed steps for a smooth installation.
Step 1: Install the Starter Boards
Position two boards at a perfect 90-degree angle at the centre point. These create the V-shape that defines the overall layout.
Step 2: Build the Zig‑Zag Pattern
Add boards on each side, maintaining alignment with the reference lines. Tap boards gently into place to avoid gaps.
Step 3: Maintain Expansion Gaps
Use spacers around all walls to allow for natural expansion and contraction.
Step 4: Continue Row by Row
Depending on the product:
- Floating floors click together
- Glue-down floors require adhesive applied in small sections
Check alignment frequently to ensure the pattern stays consistent.
Step 5: Cut Edge Pieces Accurately
Use a mitre saw or jigsaw to cut precise angles for edges and corners.
Step 6: Inspect the Layout Regularly
Small errors early in the process can multiply across the room. Correct misalignment as soon as it appears.
Can Herringbone Flooring Be Laid Straight?
Yes. Many engineered products allow for both straight-lay and herringbone installation. However, homeowners usually choose herringbone for its decorative impact, so most installations follow the full pattern.
How to Fit Herringbone Flooring With a Border
Adding a border creates a framed, polished finish. Here’s how to do it:
- Install the main herringbone pattern first.
- Leave a consistent space around the perimeter.
- Measure and cut border boards precisely using a mitre saw.
- Install borders with adhesive or as floating pieces depending on your flooring type.
Borders are especially popular in hallways and open-plan living spaces.
How to Set Out Herringbone Flooring
The set-out process establishes your entire installation.
Follow these steps:
- Mark the centre line accurately
- Dry-lay several rows
- Confirm the pattern direction suits the shape of the room
- Ensure tone variation is evenly distributed
Proper set-out ensures the final look is balanced and symmetrical.
Is Herringbone Flooring Easy to Lay?
Herringbone installations are more complex than straight-lay floors. They require:
- Accurate measurements
- Consistent alignment checks
- Careful pattern planning
While skilled DIY installers may achieve good results, many Melbourne homeowners prefer professional installation to guarantee a flawless, long-lasting finish.
Choosing the Right Underlay
The right underlay enhances performance, comfort, and acoustic control. When selecting underlay for herringbone flooring, consider:
- Moisture resistance
- Thickness and density
- Sound reduction benefits
- Stability for interlocking systems
Common Mistakes to Avoid
- Misaligned starter boards
- Incorrect angle positioning
- Skipping the dry-lay stage
- Inconsistent expansion spacing
- Cutting border pieces inaccurately
Avoiding these mistakes is essential for obtaining a professional finish.
Subfloor Suitability for Herringbone Flooring
| Subfloor Type | Suitable? | Notes |
| Concrete | Yes | Must be level and moisture-tested |
| Timber | Yes | Secure and flatten any movement |
| Tiles | Sometimes | Must be fully bonded and even |
| Carpet | No | Must be removed before installation |


FAQs About Installing Herringbone Flooring
1) How do you lay herringbone flooring correctly?
Start with an accurate centre line, install your starter boards perfectly, and work outward while checking alignment frequently.
2) Is herringbone flooring suitable for DIY installation?
It can be, but it requires patience and precision. Many homeowners prefer professional installation for best results.
3) Can herringbone flooring be glue-down?
Yes—this is a common method in high-traffic or commercial spaces.
4) Can I install a border around herringbone flooring?
Absolutely. Borders create a premium, framed design.
5) Which rooms are best for herringbone flooring?
Living areas, dining rooms, hallways, and large open-plan spaces.
Ready to Bring Herringbone Style to Your Home?
Transform your home with expert-installed herringbone flooring. Dex Flooring provides high-quality flooring options, expert guidance, and installation support tailored to Melbourne homes. Whether you’re upgrading a single room or refreshing your entire living space, our team is here to help you achieve a flawless, premium finish.