
Vinyl plank flooring offers a budget-friendly way to refresh your space with a modern look. But achieving a flawless installation requires a little planning and know-how.
This guide empowers you to take on the project yourself – we’ll walk you through subfloor prep, layout strategies, installation techniques, and even aftercare tips for a floor that looks great for years to come.
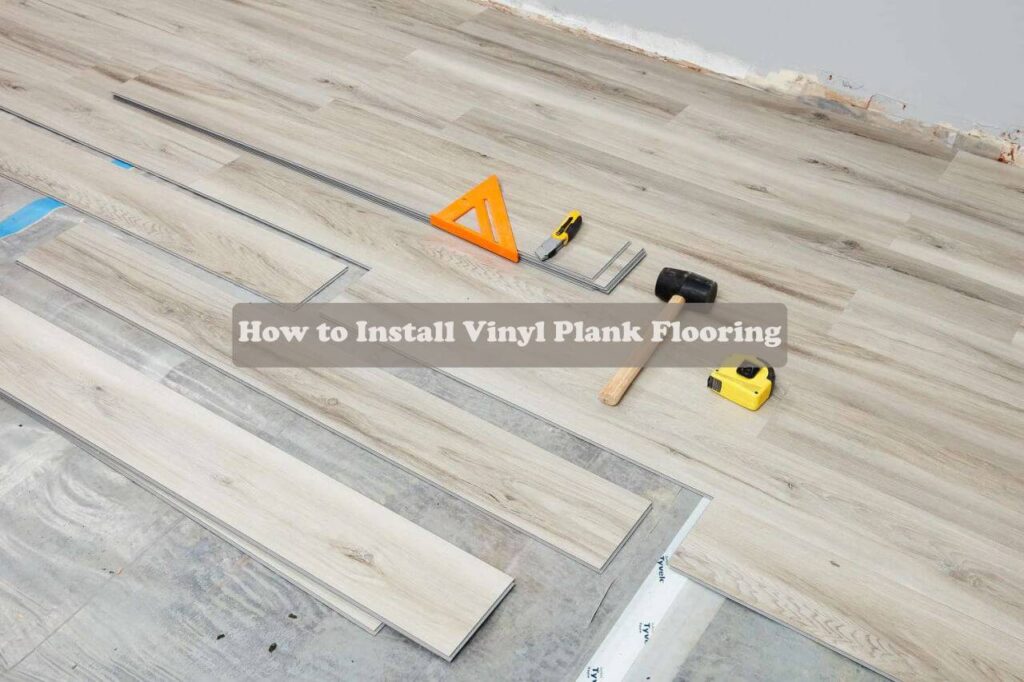
Love the vinyl look, but short on time? Dex Flooring can make your dream floor a reality. Get a free quote in the comments below!
Subfloor Prep for Perfect Vinyl Planks
Before your beautiful vinyl planks take center stage, a crucial step awaits: subfloor prep. This might sound intimidating, but fear not! Here’s a breakdown of what it entails:
- Clean Sweep: Start with a spotless canvas. Thoroughly sweep or vacuum the subfloor to remove any dirt, debris, or lurking gremlins (okay, maybe not gremlins, but definitely dust bunnies).
- Patch Up the Past: Inspect for cracks, holes, or unevenness. Uneven spots can lead to future issues like plank warping, so it’s best to address them now. Fill minor cracks with patching compound, and for larger imperfections, consider plywood sheets.
- Find Your Level: Vinyl planks crave a flat surface! Use self-leveling compound for minor dips or bumps. For more significant unevenness, plywood sheets can be used to create a smooth, level base.
- Underlayment: The Comfort Layer: This goes down before your planks and provides cushioning and soundproofing. Choose an underlayment compatible with your chosen adhesive to avoid any future headaches.
With a properly prepped subfloor, you’ve laid the groundwork for a flawless vinyl plank installation. Now, let’s move on to the fun part: laying those beautiful planks!
Laying Out Vinyl Planks
With a prepped subfloor, it’s time to unleash your inner designer! Here’s how to strategically lay out your vinyl planks:
- Measure Like a Pro: Accuracy is key. Before diving in, meticulously measure the room and mark cutting lines for the first row using a pencil or chalk. Taking your time here ensures a seamless installation.
- Precision Cuts: Patience is your friend when cutting planks. Use a sharp utility knife or saw, carefully measuring and making each cut to avoid damaging surrounding pieces. Remember, you can always cut more, but you can’t add material back!
- Seamless Transitions: Once the planks are cut and ready, use caulk or a putty knife to seal the edges and corners. This creates a smooth, finished look and adds an extra layer of protection against water damage.
The Art of Vinyl Plank Installation
Now that your subfloor is prepped and your planks are strategically laid out, it’s time for the installation itself! Here’s how to lock those vinyl planks into place:
- Starting Point: Begin at a corner that’s least visible, like a closet or behind a door. This allows you to make any necessary adjustments as you work your way towards more prominent areas of the room.
- Row by Row: Carefully connect the planks, working your way in rows. Most vinyl planks have a tongue-and-groove system that clicks together. Follow the manufacturer’s instructions for your specific flooring to ensure a secure fit.
- Keeping it Straight: Use spacers to maintain a consistent gap between the planks and the wall for proper floor expansion. Utilize a tapping block and mallet to gently tap the connected ends of each plank until they lock securely into place.
- Full Plank, Half Plank: You’ll likely need to cut planks to fit around the perimeter of the room. Save cut-off pieces – they can often be used to fill in smaller gaps as you progress. Aim for random plank sizes throughout the installation for a more natural look.
- Transitions and Trims: For doorways or uneven edges, you might need transition strips or end caps. These are typically sold separately and come in various styles to match your flooring.
Congratulations! With each click and lock, you’re creating a beautiful new vinyl floor.
The Final Flourish: Sealing, Trimming, and Transitions
Almost there! Here’s how to add those finishing touches that make your vinyl masterpiece shine:
- Seal the Deal: To prevent moisture woes, use caulk or silicone sealant (consult the manufacturer’s instructions for the best choice) to seal any gaps or edges between planks. This creates a watertight barrier, protecting your beautiful floor for years to come.
- Trim the Excess: Grab your utility knife or scissors and give your floor a clean, finished look by trimming away any excess material around the edges.
- Bridging the Gap (Optional): If your vinyl kingdom meets another flooring type (like carpet or tile) at doorways, transition strips are your heroes. These come in various materials (wood, metal, etc.) to seamlessly blend the two surfaces and prevent tripping hazards. Choose the one that best complements your space.
Pro-Tip: For a natural look, avoid perfectly straight cuts when laying your first and last rows. Embrace some variation!
Maintaining Your Masterpiece: Regular vacuuming and mopping are key to keeping your vinyl floor looking fabulous. Avoid harsh chemicals or abrasive cleaners, as these can damage the surface.
Now, take a step back and admire your handiwork! You’ve transformed your space with beautiful, durable vinyl plank flooring.
Easy Maintenance Tips
Congratulations! You’ve installed a stunning vinyl floor. Now, let’s ensure it stays that way for years to come. Here’s your vinyl floor care cheat sheet:
- Cleaning Routine: Regular vacuuming and mopping with a mild, vinyl-safe detergent is your best friend. Avoid harsh chemicals, abrasive cleaners, and wax products – they can damage the finish or leave a sticky mess.
- Skip the Steam Mop: High heat from steam mops can warp planks. Opt for a damp mop for a gentle clean.
- Doormat Defense: Place mats at entryways to trap dirt and debris before they track inside.
- Furniture Felts: Protect your floor from scratches and dents by adding felt pads to furniture legs.
- Spot Fix Scratches: Minor scratches can often be buffed out with a vinyl floor scratch removal kit.
- Warranty Wisdom: Familiarize yourself with your specific vinyl plank warranty to understand any required maintenance to keep it valid.
- Manufacturer Magic: Always follow the manufacturer’s cleaning recommendations for your specific flooring.
By following these simple tips, you can ensure your vinyl floor continues to grace your home with its beauty and durability for years to come.
Final Words
With careful preparation, a strategic layout, a smooth installation, and some easy maintenance routines, your vinyl plank flooring will grace your home for years to come. Whether you tackled it yourself or partnered with flooring experts, you can now relish the timeless beauty and functionality of this fantastic material.
FAQs
Q: Do I need underlayment for vinyl plank flooring?
Absolutely! Underlayment provides cushioning, soundproofing, and moisture protection for your beautiful new floor. Our expert team can assess your space and recommend the perfect underlayment for your needs.
Q: Can a DIY newbie install vinyl plank flooring?
Yes! Vinyl plank flooring is a great beginner project. With some basic tools, clear instructions, and a little prep work, you can create a stunning new floor yourself. However, proper technique is key. If you’re unsure about any steps, consider consulting a professional for guidance.
Q: Glue or float – what’s the deal?
The glue vs. float debate depends on your subfloor and environment. Glued-down planks offer superior soundproofing and stability, but require a perfectly level surface. Floating floors are easier to install (no glue!), but might not be ideal for high-moisture areas like bathrooms.