
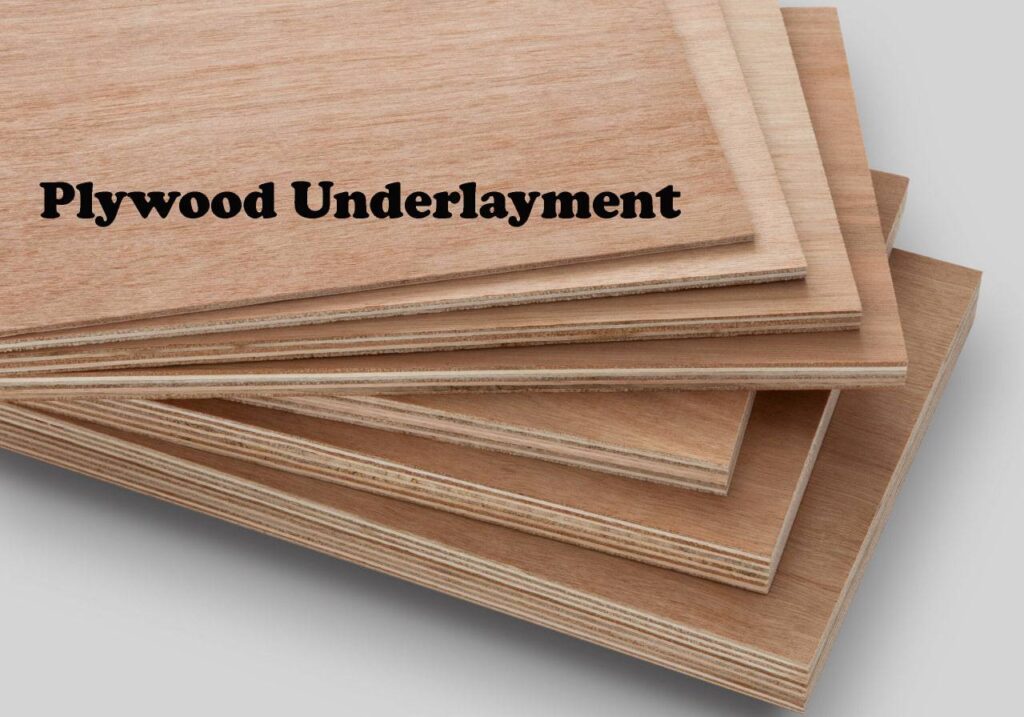
Dreaming of beautiful, durable flooring? While the final layer steals the show, the unsung hero beneath it all is often plywood underlayment. It might seem like an extra step, but using it strategically can make a world of difference in the final outcome. But when exactly is it necessary, and how do you install it like a pro? This guide will equip you with the knowledge to confidently decide if and how plywood underlayment fits into your flooring project.
From creating a level, stable base to enhancing soundproofing and moisture resistance, we’ll delve into the key situations where plywood underlayment shines. We’ll also walk you through the essential steps of installation, covering everything from choosing the right panels to securing them seamlessly.
Get ready to unlock the secrets of flawless flooring – let’s navigate the world of plywood underlayment together!
Diving Deeper: Exploring the Types of Plywood Underlayment
Now that you understand the potential benefits of plywood underlayment, let’s explore the different types you might encounter:
By Grade:
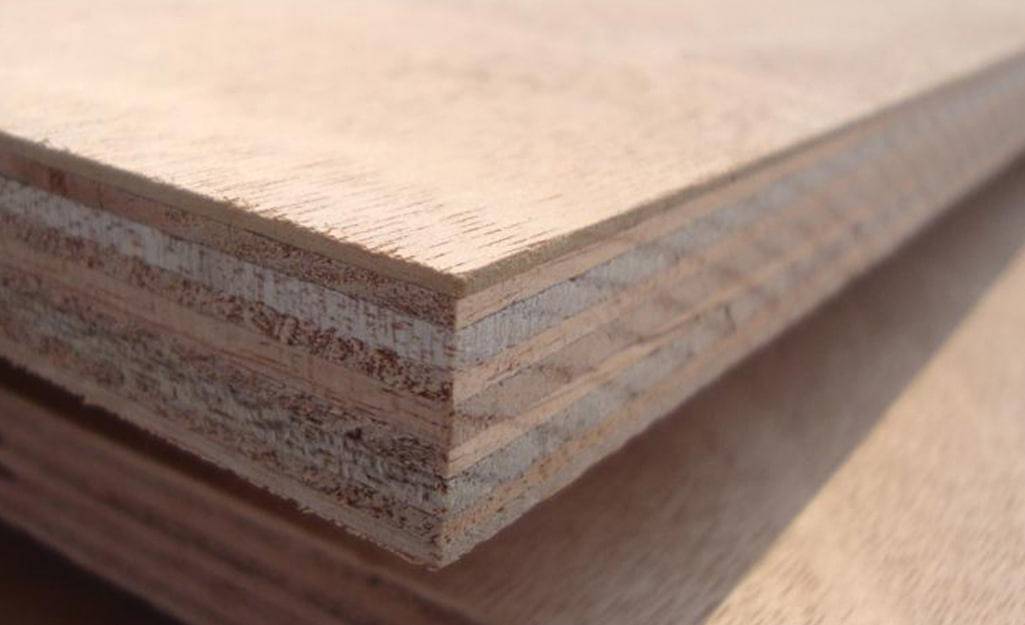
- CDX: The workhorse option, affordable and readily available with C-grade faces (some knots and imperfections) and D-grade backs. Suitable for most underlayment needs, but not ideal for exposed applications.
- AC: Offers a smoother A-grade face for better paint or adhesive adhesion, with a C-grade back. Slightly more expensive than CDX, but a good choice for underlayment that might be partially visible.
- AD: Similar to AC but with a D-grade back, making it less suitable for applications where aesthetics matter.
By Thickness:
- 1/4 inch: Perfect for minor subfloor imperfections or adding moisture resistance under resilient flooring like vinyl or laminate.
- 3/8 inch: A popular choice for balancing uneven subfloors and providing a sturdier base for tile or engineered hardwood.
- 1/2 inch: The go-to option for strengthening weak subfloors and supporting heavier flooring materials like solid hardwood.
Specialty Options:
- Tongue-and-groove plywood: Interlocking edges ensure a seamless, squeak-free subfloor, particularly useful for uneven surfaces.
- Moisture-resistant plywood: Treated with resins to withstand higher moisture levels in basements or kitchens.
Choosing the Right Underlayment:
The best type for your project depends on several factors:
- Type of flooring: Different flooring materials have specific requirements for support and moisture resistance.
- Subfloor condition: Unevenness, gaps, or potential moisture issues need addressing.
- Budget: Prices vary based on grade, thickness, and specialty features.
When Plywood Underlayment Becomes Your Floor’s Best Friend
While a smooth subfloor might seem sufficient, there are several key situations where plywood underlayment can significantly enhance your flooring project:
Achieving a Flawless Surface:
- Uneven subfloors: Even minor dips or bumps can telegraph through finished flooring. Plywood creates a level, consistent base, ensuring a smooth and visually appealing final result.
- Gaps and imperfections: Plywood bridges any gaps in the subfloor, preventing floorboards from flexing or squeaking.
- Knots and defects: If your subfloor has exposed knots or other imperfections, plywood provides a clean, uniform surface for optimal adhesion and aesthetic appeal.
Enhancing Functionality:
- Moisture concerns: In areas prone to moisture, like basements or bathrooms, moisture-resistant plywood underlayment acts as a barrier, protecting your flooring from warping and damage.
- Soundproofing: Plywood dampens sound transmission, particularly important in multi-story homes or shared spaces.
- Support and stability: Weak subfloors need reinforcement. Plywood adds strength and rigidity, especially essential for heavier flooring materials like stone tile or solid hardwood.
Specific Flooring Requirements:
- Resilient flooring: Vinyl, linoleum, and some laminate flooring types require a smooth, stable base for proper installation and performance. Plywood fills the bill perfectly.
- Ceramic tile: Tile needs a solid, moisture-resistant foundation. Cement backer board, a type of plywood underlayment specifically designed for tile, provides the ideal surface.
- Engineered hardwood: While some engineered hardwood can be installed directly on subfloors, plywood underlayment can enhance stability, soundproofing, and moisture resistance.
Next Up: Mastering the installation process to ensure your plywood underlayment provides all the benefits mentioned above! Stay tuned!
Laying the Foundation: Installing Plywood Underlayment Like a Pro
Now that you know the when and why of plywood underlayment, let’s dive into the exciting world of installation!
Before You Begin:
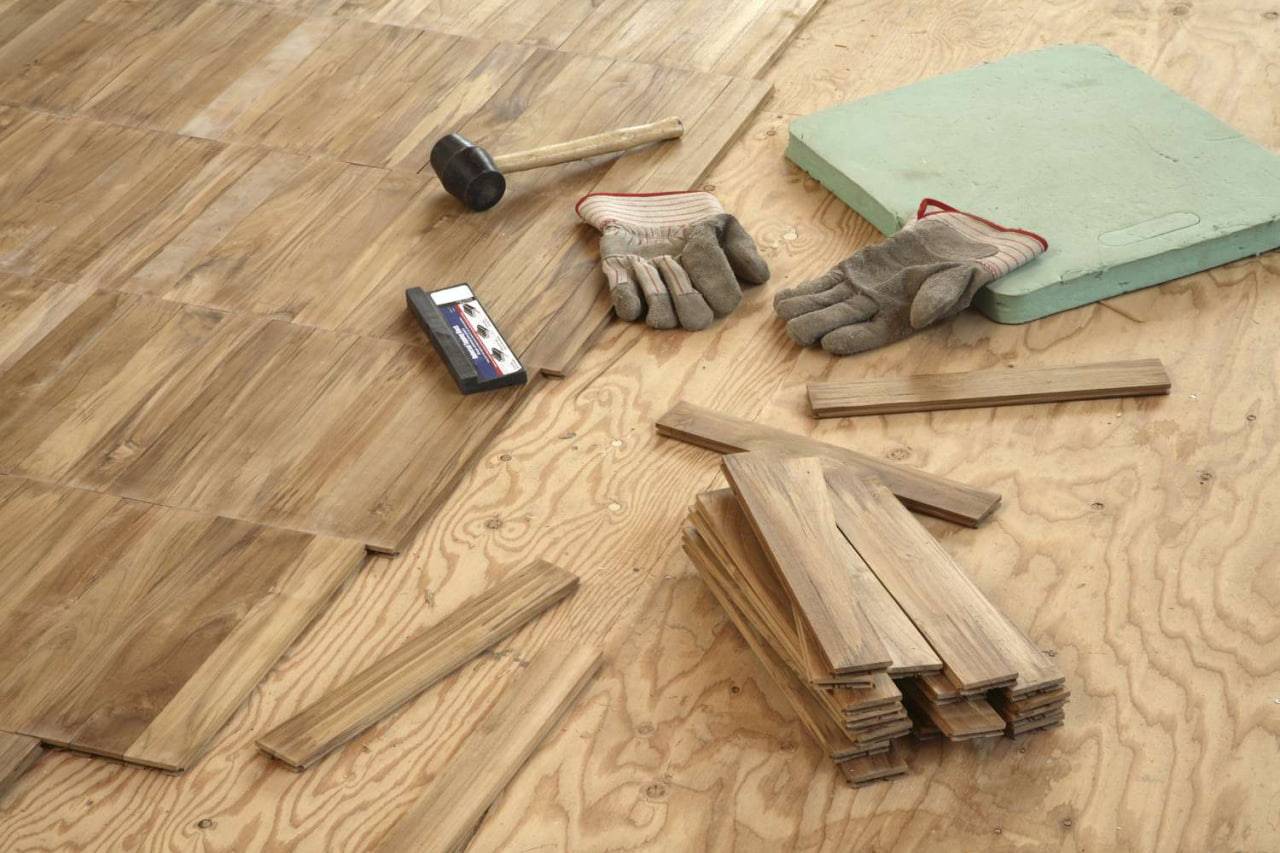
- Gather your tools: Circular saw, hammer, drill, utility knife, tape measure, straight edge, square, safety glasses, dust mask.
- Acclimatize the plywood: Store the panels in the installation room for at least 48 hours to adjust to the temperature and humidity.
- Prepare the subfloor: Ensure it’s clean, dry, level, and free of debris. Address any unevenness, gaps, or potential moisture issues.
Installation Steps:
- Plan your layout: Decide the direction of the panels (usually perpendicular to floor joists) and create a cutting plan to minimize waste. Mark any areas needing cuts on the panels.
- Cut the panels: Use a circular saw with a sharp blade to make precise cuts, following your markings.
- Install the first panel: Start in a corner, leaving an expansion gap of 1/8″ – 1/4″ around the perimeter. Secure the panel using ring shank nails, screws, or staples spaced accordingly (typically 2″ on edges, 4″ in the field).
- Continue laying panels: Work your way across the room, staggering panel seams and maintaining the expansion gap. Butt the panels together snugly without forcing them.
- Fasten subsequent panels: Follow the same fastening pattern as the first panel, ensuring all edges and field areas are securely attached.
- Cutouts and corners: Carefully measure and cut any necessary notches or corner pieces for a seamless fit. Secure them with appropriate fasteners.
- Fill gaps (optional): If using gapped panels, apply seam filler according to the manufacturer’s instructions.
- Sand and clean: Lightly sand any unevenness around fasteners and remove any debris before installing your chosen flooring.
Pro Tips:
- Use a tapping block to avoid damaging the plywood while hammering nails.
- Pre-drill screw holes to prevent splitting, especially near panel edges.
- Wear knee pads for comfort and protection while working on the floor.
- Double-check the manufacturer’s recommendations for specific fastening patterns and spacing based on your underlayment type and chosen flooring.
Conclusion
From the initial decision of “when” to the final steps of “how,” this guide has equipped you with the knowledge and confidence to navigate the world of plywood underlayment. Remember, it’s not just an extra step, but a strategic investment in the longevity, beauty, and functionality of your finished floor.
Whether you’re tackling uneven subfloors, seeking enhanced soundproofing, or aiming for a flawless final surface, plywood underlayment can be your secret weapon. With the right type, proper installation, and a sprinkle of pro tips, you’ll be well on your way to achieving a floor that not only looks stunning but performs beautifully for years to come.
So, don’t underestimate the power of this essential layer. Embrace the knowledge, grab your tools, and get ready to unlock the secrets of truly flawless flooring!
Plywood Underlayment FAQs:
Do I always need plywood underlayment?
Not always! It depends on your subfloor condition, flooring type, and desired outcome. However, it can address unevenness, gaps, moisture concerns, and soundproofing needs, ultimately leading to a better performing and longer-lasting floor.
What type of plywood underlayment should I use?
The best type depends on your specific needs. Consider factors like:
- Flooring type: Different materials have different requirements for support and moisture resistance.
- Subfloor condition: Unevenness or potential moisture issues might necessitate specific features.
- Budget: Prices vary based on grade, thickness, and specialty options like moisture resistance or tongue-and-groove edges.
What thickness of plywood underlayment do I need?
Common thicknesses are 1/4″, 3/8″, and 1/2″. Thinner options work for minor imperfections, while thicker ones provide more support for unevenness or heavier flooring. Consult your chosen flooring manufacturer for specific recommendations.
How do I install plywood underlayment?
Follow these key steps:
- Plan your layout and cut panels to size.
- Start in a corner with an expansion gap.
- Secure panels with nails, screws, or staples according to manufacturer guidelines.
- Stagger seams and maintain the expansion gap.
- Address cutouts and corners carefully.
- Fill gaps (optional) and sand any unevenness.
- Clean the surface before installing your chosen flooring.
Where can I find more information on specific products and installation techniques?
Always consult your chosen flooring manufacturer’s recommendations for compatible underlayment types and installation specifics. Additionally, hardware stores and online resources like Dex Flooring blog offer detailed information on different plywood underlayment options and best practices.