
Bring your hardwood floor back to life! Unlike laminate or engineered options, solid wood flooring offers timeless beauty and natural character. While susceptible to scratches and water damage, it possesses a unique advantage: the ability to be sanded and refinished, revealing a stunning, revitalized surface beneath the wear and tear.
This guide explores everything you need to know about sanding wood floors, including the ideal frequency and associated costs, empowering you to restore the original charm of your solid wood investment.
When to Sand Wood Floors?
Do you need to sand your wood floors? While new floors are sanded for leveling, existing floors require sanding for specific reasons:
- Removing wear and tear: Stains, deep scratches, or uneven surfaces can be addressed through sanding. However, for minor wear and tear, consider embracing the natural aging process, as some appreciate the character it adds.
- Rejuvenating the finish: If your floors look dull due to an old or grimy finish, sanding removes it, allowing you to refinish with a fresh stain or sealant.
Frequency varies based on usage:
- Every 10 years (approx.): This is a general recommendation for maintaining a sleek appearance, influenced by factors like foot traffic and the number of occupants in your house.
- Visually assessed need: Ultimately, prioritize sanding when the floor appears visibly scuffed and requires restoration.
Remember:
- Sanding is a significant undertaking, involving furniture removal, sanding, drying time, and potential exposure to strong chemicals.
- Hardwood floors have a finite lifespan; frequent sanding can reduce their thickness before needing replacement. Weigh the cost and inconvenience against the aesthetics and longevity of your floors before proceeding.
By considering these points, you can make an informed decision about whether sanding your wood floors is necessary and what timing aligns best with your needs.
Sanding and Refinishing Your Wood Floors: A Step-by-Step Guide
Ready to breathe new life into your solid wood floors? Here’s a comprehensive guide to equip you with the knowledge and steps for a successful sanding and refinishing project.
Before You Begin:
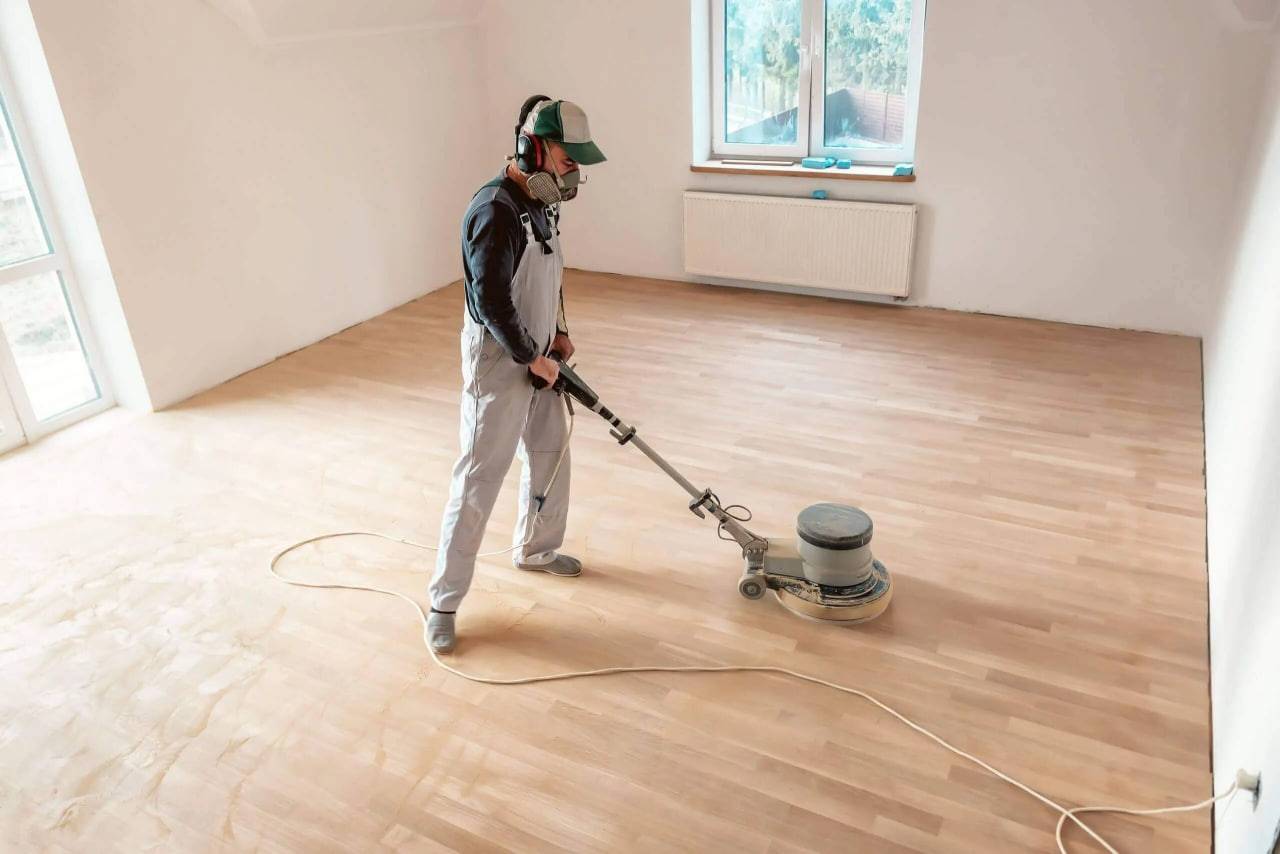
- Gather your supplies: Rent an electric floor sander from HSS, along with various grits of sandpaper (generally ranging from 30 to 150). You’ll also need a synthetic brush and your chosen wood finish (stain, sealant, or lacquer).
- Prepare the floor: Secure any protruding nails using screws or countersinking them to avoid damaging the sander.
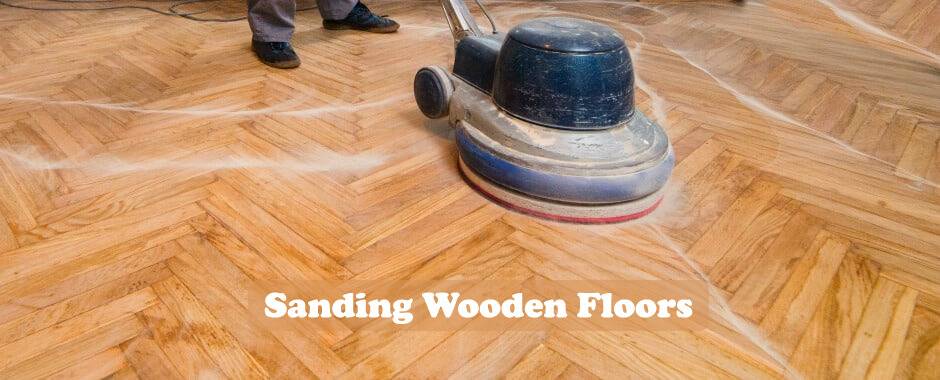
Sanding:
- Start coarse, end fine: Begin with a coarse-grit sandpaper (around 30 grit) in the middle of the room, working steadily towards the edges. Always sand with the grain, not against it, and avoid lingering in one spot to prevent unevenness.
- Reach the corners: Use the sander for the bulk of the work, but switch to hand-sanding for tight corners and edges the electric sander can’t reach.
- Dust removal: Thoroughly remove all dust after each sanding session.
Filling and Refining:
- Create a matching wood filler: Save some sanding dust to mix with a clear wood filler gel. This creates a color-matched filler for any minor cracks or holes you may encounter.
- Refine with finer grit: Repeat the sanding process with a finer sandpaper (around 100 grit), followed by another round of dust removal.
Finishing:
- Choose your finish: Explore options like stains, sealants, or lacquers, considering the desired color and texture for your floor.
- Apply the finish: Use a short-haired microfiber roller for sealants or lacquers, and a brush for stains (always follow the manufacturer’s instructions).
- Light sanding and final coat: After the first coat dries for 2-3 hours, lightly sand the floor with a 150-grit sandpaper and remove dust. Apply a final, thin layer of varnish using a roller to avoid brush marks.
- Drying and furniture placement: Allow at least 12 hours for everything to dry completely before returning furniture to the room.
Remember:
- Wear protective gear (dust mask, goggles, and gloves) throughout the entire process.
- Consider the potential mess and inconvenience of dust, fumes, and furniture removal before starting this project.
By following these steps and taking necessary precautions, you can successfully sand and refinish your wood floors, restoring their beauty and extending their lifespan.
Conclusion
With the knowledge and steps outlined in this guide, you now have the power to revitalize your solid wood floors, restoring their original character and enhancing the beauty of your home. Remember, carefully consider the project’s requirements against your needs and preferences before taking the plunge.
FAQs
Q: Is it difficult to sand and refinish wood floors myself?
A: While achievable, sanding and refinishing wood floors is a demanding project requiring attention to detail and proper technique. Consider your comfort level with DIY projects and the extent of work needed before deciding to tackle it yourself.
Q: Are there any alternatives to sanding my wood floors?
A: Depending on the condition of your floors, alternatives like buffing and polishing might suffice for minor scratches or superficial wear. However, for deeper damage or a complete transformation, sanding and refinishing remains the most effective solution.
Q: How much does it cost to sand and refinish wood floors professionally?
A: Costs vary depending on factors like floor size, desired finish, and geographical location. Generally, expect to pay around $2 to $5 per square foot for professional sanding and refinishing services.
Q: What safety precautions should I take when sanding wood floors?
A: Wear protective gear like a dust mask, goggles, and gloves throughout the process. Additionally, ensure proper ventilation to avoid inhaling dust and fumes from the sanding process and finishing materials.