
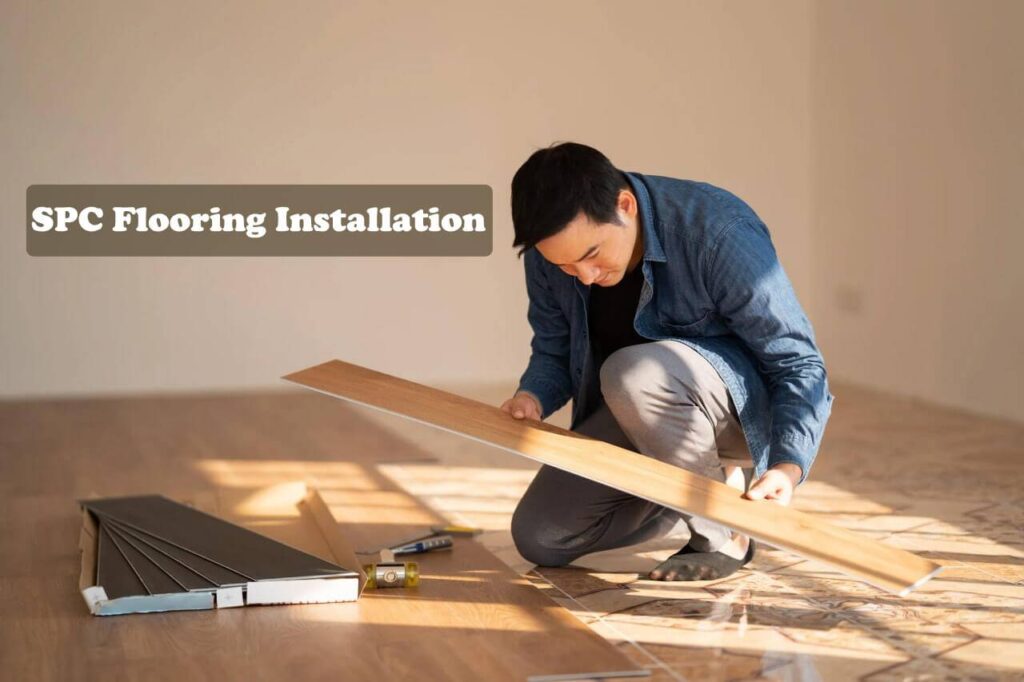
Dreaming of beautiful, durable floors without breaking the bank? SPC vinyl flooring, renowned for its water resistance and stunning looks, might be your answer. This guide empowers both seasoned DIYers and budget-conscious homeowners with the essential steps to achieve a flawless SPC vinyl flooring installation. Let’s embark on this journey together and transform your space!
SPC Installation Methods: A Guide for Every DIYer
SPC vinyl flooring offers a captivating combination of beauty and practicality, but navigating installation methods can be confusing. Fear not, for this guide unveils the two most popular techniques: click-lock and loose-lay.
1. Click-Lock: Effortless Beauty for Beginners
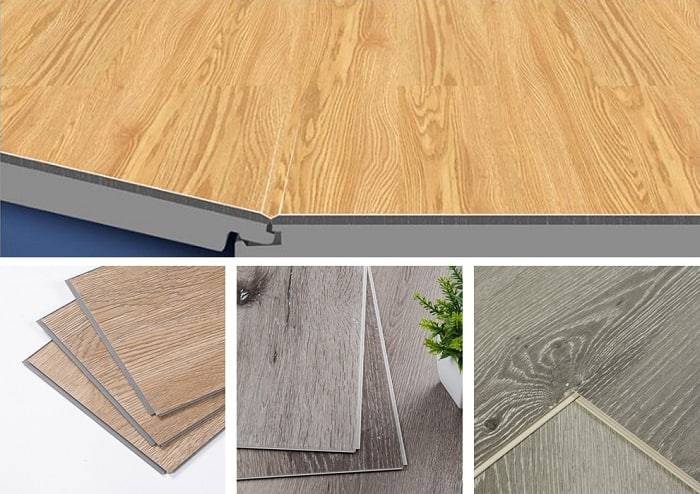
This method, aptly named the “floating technique,” is perfect for first-timers. Imagine interlocking puzzle pieces: click-lock planks feature long and short sides that effortlessly snap together, forming a secure and seamless floor.
Here’s a glimpse into the process:
- Measure and cut: Ensure precise fitting by measuring and trimming planks if necessary.
- Start smart: Begin at a corner, leaving a 2mm gap around the wall for expansion.
- Gentle pressure is key: Avoid using hammers or pounding blocks that could damage the delicate click mechanism. Firm hand pressure is all you need.
- Horizontal heroes: Some click-lock planks are designed for horizontal installation, making them ideal for tight spaces.
2. Loose-Lay: The Effortless Alternative
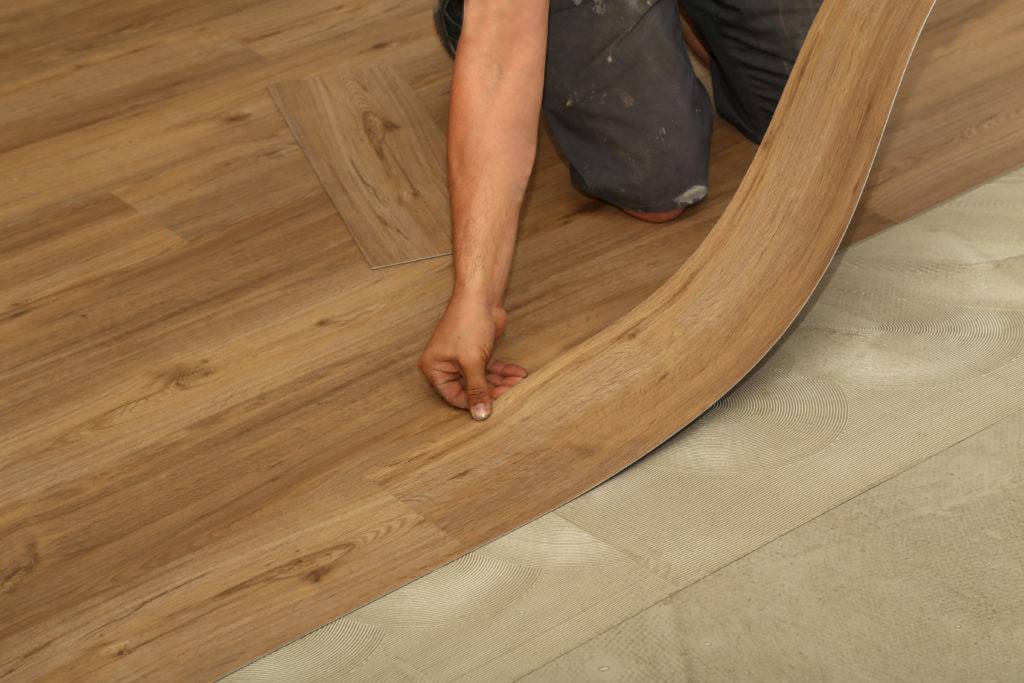
This innovative method redefines ease. Forget nails, adhesives, or even complex locking systems. Loose-lay planks, with their thick vinyl design and rubber backing, simply lay flat on a level surface, held in place by friction.
Here’s what makes loose-lay stand out:
- Quick and easy: Installation is a breeze, making it perfect for DIY enthusiasts of all skill levels.
- Goes anywhere: Loose-lay planks can be conveniently placed over existing flooring.
- Eco-friendly champion: Both click-lock and loose-lay methods eliminate the need for glue, making them environmentally friendly and free of harmful VOCs.
The Takeaway:
Whether you’re a seasoned DIYer or a complete beginner, both click-lock and loose-lay SPC installation methods offer distinct advantages. Choose the approach that best aligns with your project requirements and comfort level, and embark on crafting your dream floor with confidence.
Conquer Your SPC Flooring Project: A Guide from Preparation to Installation
Before You Begin:
- Suitable Subfloor: Ensure your subfloor is flat, stable, and free from moisture fluctuations. Consult a professional if unsure.
- Manufacturer’s Instructions: Always refer to the specific installation guide for your chosen SPC flooring brand.
- Choosing Your Method: As mentioned earlier, SPC comes in various installation methods (click-lock, loose-lay, etc.). Select the one that best suits your comfort level and project needs.
Gathering Your Arsenal:
To ensure a smooth installation process, gather the following tools:
- Essential Measuring: Tape measure for accurate room dimensions and plank sizing.
- Cutting and Marking: Sharp utility knife, T-square/straight edge, and pencil/chalk line for precise cuts and alignment.
- Safety First: Safety glasses and ear protection (especially for power tools).
- Cutting Power: Crosscut or circular saw with a fine-toothed blade for efficient and accurate cuts.
- Removal and Placement: Pry bar for safe removal of baseboards or existing flooring, and a rubber mallet for gently tapping planks into place.
- Spacing and Security: Spacers for maintaining expansion gaps, and adhesive (for glue-down installation) with its applicator.
Additional Considerations:
- Underlayment (if recommended by the manufacturer).
- Double-sided tape/adhesive tabs (for loose-lay installation) to secure edges and seams.
- Transition strips for a polished look at flooring transitions.
- Dust mask/respirator and cleaning supplies for a safe and dust-free environment.
With these tools and the chosen installation method in mind, you’re ready to embark on your SPC flooring project with confidence!
Precise Planning for Perfect Installation:
Calculating Your SPC Needs
- Measure Up: Begin by meticulously measuring the room’s length and width in inches or centimeters for accurate calculations.
- Waste Not, Want Not: To avoid material shortages, factor in a 10-15% buffer for waste and potential pattern matching needs.
Acclimatization: A Crucial Step
Before installation, allow the SPC planks to adjust to their new environment. Keep boxes flat and level, not on their sides. During this acclimatization period, maintain a room temperature between 41°F (5°C) and 140°F (60°C) by adjusting the heating or air conditioning. Remember, both acclimatization and installation should occur in a temperature-controlled environment, with any temperature fluctuations happening only after installation is complete.
Subfloor Preparation: The Foundation for Success
Your subfloor, the existing base for your new flooring, can be made of wood floorboards or concrete. Here’s what you need to ensure a solid foundation:
- Clean and Smooth: The subfloor should be free of debris and irregularities.
- Flat and Stable: Ensure no unevenness or movement exists.
- Dry and Solid: Avoid installing on damp or weak subfloors.
- Level Perfection: Use a Portland cement-based patching compound to level any unevenness exceeding 3/16 inch (4.76mm) within a 10-foot (3.05m) radius.
- Moisture Management: Prevent moisture build-up on either side of the flooring to avoid potential mold and mildew growth.
By following these steps, you’ll lay the groundwork for a successful SPC flooring installation.
Step-by-Step Guide to SPC Flooring Installation:
- Laying the First Row:
- Ensure the subfloor is clean and prepped.
- Begin by placing the first plank with the grooved edges facing you, leaving a 6mm (1/4″) gap from the wall using spacers.
- Interlock the second plank with the first, tapping gently with a rubber mallet to secure the connection. Both planks should be level and aligned.
- Repeat the process for the rest of the first row, checking for even height and alignment.
- Important Note: If the planks don’t connect properly, remove and check for debris in the grooves. Forcing misaligned connections can permanently damage the joints.
- Cutting the Last Plank (First Row):
- Measure the remaining space for the final plank, ensuring a 6mm (1/4″) expansion gap from the wall.
- Mark and score the excess length with a sharp utility knife and ruler, then firmly break the board at the score line.
- Starting Subsequent Rows:
- Use the leftover piece from the first row to begin the second row (if it’s at least 30 cm/12″ long). Otherwise, start with a new plank, ensuring a minimum 18 cm/7″ gap between joint connections.
- Continue using leftover pieces at the beginning of subsequent rows whenever possible.
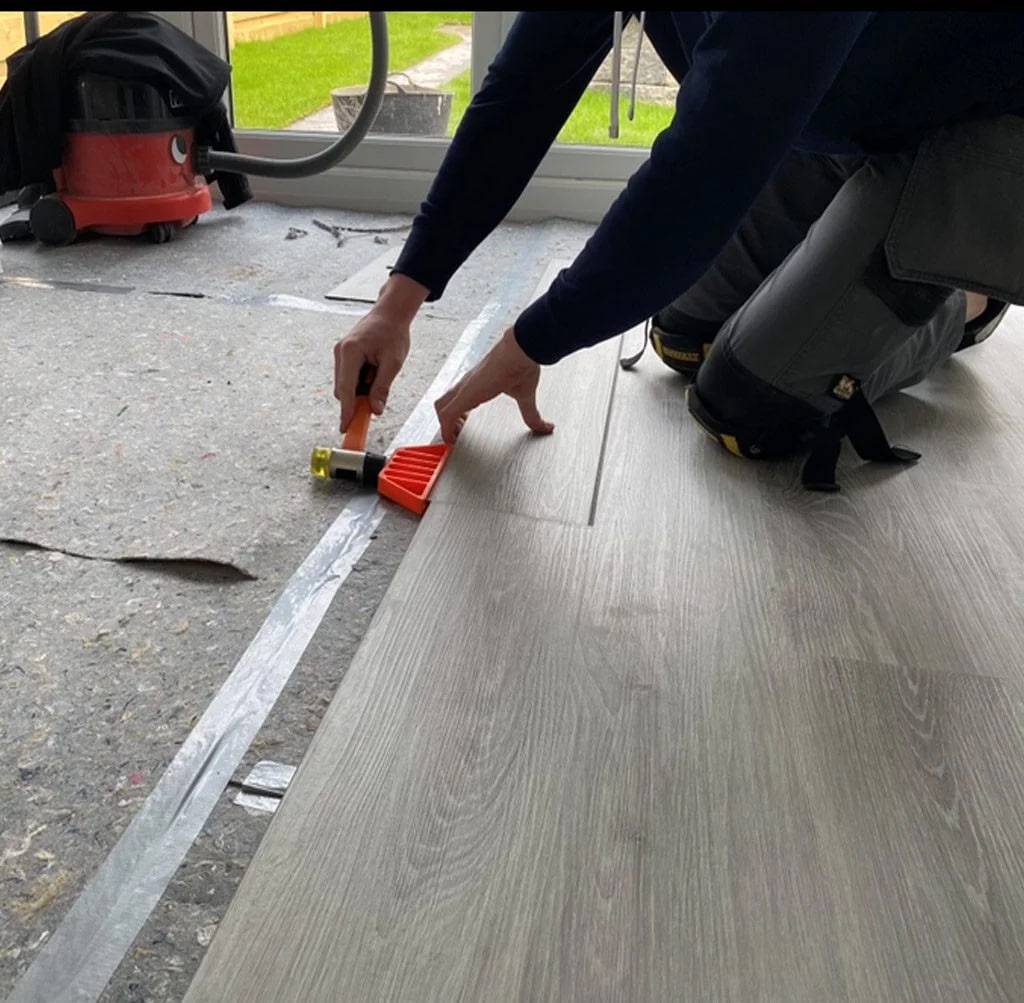
- Connecting Subsequent Planks:
- Click the long side of the new plank with the previous row, pressing it at a 30° angle against the short end of the last row’s plank.
- Gently tap the joint with a rubber mallet to secure it, ensuring proper alignment and level.
- Maintaining Straightness:
- Check for straightness every 2-3 rows using a string line. If necessary, re-trim the first row to correct any starting wall unevenness.
- Cutting the Last Row:
- Lay an SPC plank on the completed row and another plank on top, aligning its tongue with the wall.
- Mark the first plank along the second plank’s edge, then cut this plank to fit, ensuring a minimum width of 5 cm/2″.
- Remove spacers after placing the cut plank.
- Cutting for Pipes:
- Make a hole 12mm (1/2″) larger than the pipe’s diameter for pipe access.
- Cut a piece of the plank to wrap around the pipe, then place it back in the hole.
- Fitting Around Door Frames:
- Start the row with the door trim on one side, then slide the plank into place after securing it.
- Use a tapping block and drawbar to secure joints while the planks are flat.
- Finishing Touches:
- Replace moldings after installation, leaving a slight gap between the molding and the SPC. Attach moldings to the walls, not the floor.
- Use T-molding to cover exposed edges where SPC meets other flooring types, maintaining a small gap to avoid pinching the SPC.
Remember: Always refer to the manufacturer’s specific installation instructions for your chosen SPC flooring brand.
FAQs
What’s the difference between click-lock and loose-lay SPC installation?
Click-lock planks interlock with each other, creating a “floating” floor. It’s ideal for beginners and requires no glue. Loose-lay planks simply lay flat on the subfloor, held in place by friction. It’s even easier to install but might not be suitable for high-traffic areas.
How do I prepare my subfloor for SPC vinyl flooring?
Your subfloor needs to be clean, smooth, flat, dry, and stable. Ensure no unevenness exceeds 3/16 inch within a 10-foot radius. Consult a professional if unsure about your subfloor’s suitability.
Do I need any special tools to install SPC vinyl flooring?
Basic tools like a tape measure, utility knife, rubber mallet, and spacers are essential. Depending on the installation method, you might also need a saw, pry bar, and safety gear.
How long does it take to install SPC vinyl flooring?
The time varies depending on the room size and your experience level. Generally, a small room can be completed in a few hours, while larger projects might take a full day.
Can I install SPC vinyl flooring myself, or should I hire a professional?
SPC vinyl flooring, especially click-lock systems, is generally DIY-friendly. However, if you’re unsure about your skills or have a complex project, hiring a professional installer might be best. Remember, always refer to the manufacturer’s instructions for your specific flooring brand.