
Tired of those drab, worn-out carpet squares? You’re not alone. While modern carpet tiles offer exciting design possibilities, many of us are stuck with tired old versions. But fear not! Removing carpet tiles is an easier DIY project than you might think.
Don’t just remove the old, upgrade to the new!
Visit your local Dex Flooring store or browse our extensive selection online to find the ideal flooring for your needs. Our flooring experts are always happy to advise and guide you towards your dream floor.
This guide will equip you with the knowledge and tools to tackle this project. In no time, you’ll be admiring a fresh, updated floor and wondering why you didn’t do it sooner. The best part? You’ll save money by ditching the subcontractors and doing it yourself!
Before You Begin: Asbestos Awareness
Removing carpet tiles might seem straightforward, but there’s a crucial safety check, especially for older installations. Asbestos, a hazardous material linked to serious health risks, was commonly used in building materials before 1980.
Here’s how to be cautious:
- Age is a clue: If your carpet tiles are pre-1980, there’s a chance the adhesive contains asbestos.
- Sample and Test: For peace of mind, take a small section of carpet and attached adhesive using a utility knife. Seal it in a plastic bag and get it tested by a certified environmental lab.
Safety First:
If the test reveals asbestos, removing the tiles yourself becomes risky. In such cases, it’s best to contact a licensed asbestos abatement company for safe removal. Remember, prioritizing your health is paramount.
THINGS YOU’LL NEED
Safety Gear:
- Knee pads
- Protective gloves
- Safety goggles
- Dust mask
Tools:
- Putty knife
- Utility knife
- Floor scraper (optional for stubborn tiles)
- Pliers
Cleaning Supplies:
- Hot water in a bucket
- Painters’ tape (for protecting edges)
- Adhesive remover/stripper (choose one)
- Broom and dustpan
Optional Equipment:
- Heat gun (for tough adhesive)
- Wheelbarrow or trash can (for debris removal)
- Rubber boots (for extra moisture protection)
Gear Up for Safety
Before diving in, prioritize your safety. Here’s why the included protective gear is essential:
- Knee pads: Minimize discomfort and protect your joints during prolonged kneeling.
- Safety goggles and dust mask: Prevent dust and tiny particles from irritating your eyes and lungs as you pull up the carpet tiles.
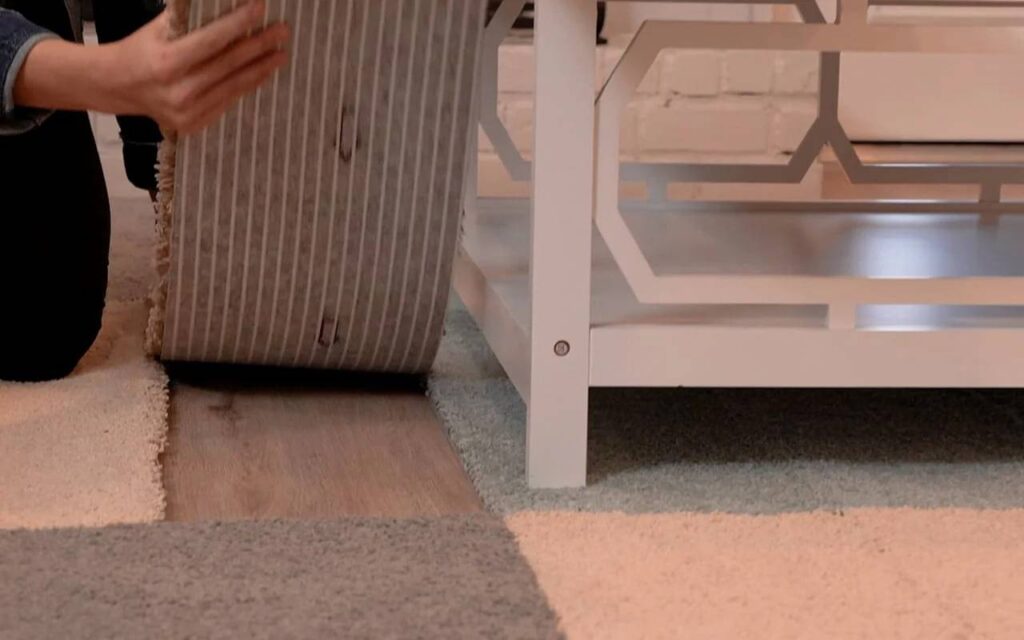
Step 1: Pull Up the First Tile
Now that you’re protected, let’s tackle those tiles!
- Look for a loose corner: Ideally, a carpet square might have a corner that’s already slightly lifted due to age or wear. This will be the easiest point to pry under.
- Use the putty knife (first option): If no loose corners exist, slide the putty knife between the seams of two tiles to create a small gap. Then, wedge the putty knife under the corner of the target tile and gently pry it upwards.
- Utilize the utility knife (second option): As a last resort, carefully use a utility knife to cut a small notch in the corner of the carpet tile. Be mindful not to damage the floor beneath. Once a section is cut, use the putty knife to pry up the loosened piece and then the entire tile.
- Grip and lift: Once a portion of the tile is lifted, grab it firmly and pull it up with your hands to remove it completely.
Step 2: Continue Removing Tiles
With the first tile out of the way, you’re on a roll! Here’s how to tackle the remaining tiles efficiently:
- Embrace the Floor Scraper: Slide the floor scraper under the edge of a carpet tile, leveraging it to lift and remove the tile. Work your way in rows, methodically clearing the floor.
- Alternative Techniques: If the scraper isn’t enough, or your hands are getting tired, consider these options:
- Plier Power: Grab the corner of a stubborn tile firmly with pliers. Lift and pull steadily to remove it.
- Hand Removal (optional): For tiles that come up easily, simply grab the corner and pull them up with your hands.
- Disposal Decisions: Decide on your disposal method:
- Neat Stacks: If space allows, stack the removed tiles neatly for easier removal later.
- Wheelbarrow Blitz: For quicker disposal, toss the tiles into a wheelbarrow and transport them directly to the dumpster.
Step 3: Remove Adhesive Stuck to Tile and Concrete
Now for the remaining adhesive! How you tackle it depends on your subfloor:
For Water-Resistant Floors (concrete, ceramic tile):
- Hot Water Persuasion (Safest Option):
- Heat water in a teapot until boiling. This is the least toxic and abrasive method.
- Wear rubber boots and gloves for protection.
- Carefully pour the hot water directly onto the stubborn adhesive areas.
- Soften and Scrape:
- Let the hot water sit for a minute to loosen the glue.
- Use a putty knife to scrape away the softened adhesive.
Note: If hot water isn’t effective or you’re dealing with a different subfloor type, you might need a stronger solution like a commercial adhesive remover. Always follow the manufacturer’s instructions for safe and proper use.
Step 4: Remove Adhesive Stuck to Wood Flooring
For wood floors or particularly stubborn adhesive, a different approach is needed:
- Manual Removal (First Attempt):
- Use a floor scraper or putty knife to remove as much loose adhesive as possible.
- Cleaning Up:
- Sweep up any debris with a broom and dustpan and dispose of it properly.
- Ventilation and Protection:
- Essential: Open windows and doors to ensure good air circulation (chemical fumes can be harmful).
- Protect your baseboards: Apply painter’s tape to shield them from accidental adhesive remover contact.
- Chemical Warfare (Targeted Approach):
- Choose a commercial adhesive remover specifically designed for your subfloor type.
- Always follow the manufacturer’s instructions for safe and proper use of the product.
- Scraping and Cleaning:
- Apply the remover according to the instructions, targeting stubborn adhesive areas.
- Use a floor scraper to remove the softened glue.
- Regularly wipe the scraper to prevent adhesive build-up on the tool.
- For highly resistant spots, employ the putty knife for more focused removal.
Step 5: Clean Up and Discard Debris
- Sweep and Sort: Use your broom and dustpan to collect any debris, separating the carpet squares from dirt and adhesive remnants.
- Trash Disposal: Dispose of the carpet squares in your trash bin or wheelbarrow. Depending on the quantity, check with your local waste disposal company for bulk pick-up options or designated drop-off centers.
- Eco-Friendly Disposal (Bonus!): If possible, look for carpet tile recycling facilities in your area. This diverts waste from landfills and gives your old tiles a new life!
Trendy FAQs
Q: Are those old carpet tiles asbestos hazards?
A: Safety first! If your carpet tiles are pre-1980, there’s a chance the adhesive contains asbestos. Play it safe – take a small sample (carpet and adhesive) with a utility knife, seal it, and get it tested by a certified environmental lab. If asbestos is present, call in a licensed asbestos abatement company for removal.
Q: I’m renting. Can I remove carpet tiles?
A: It depends on your lease agreement. Always check with your landlord before making any modifications. They might even be happy to have the outdated carpet tiles removed!
Q: What’s the best way to reuse or recycle old carpet tiles?
A: Great question! While not always an option, here are some ideas:
- Creative Reuse: Get crafty! Use leftover tiles for coasters, bulletin boards, or even pet bed inserts (depending on the material).
- Recycling Programs: Check with local carpet retailers or recycling centers. Some accept used carpet tiles for responsible disposal or even upcycling initiatives.
Q: What are some stylish alternatives to traditional carpet tiles?
A: The options are endless! Here are a few trendy ideas:
- Luxury Vinyl Plank (LVP): Durable, waterproof, and available in stunning wood or stone looks.
- Engineered Hardwood: Provides a classic hardwood feel with easier installation and maintenance.
- Woven Vinyl Tiles: Offer a natural fiber look with the practicality of vinyl (perfect for high-traffic areas).