
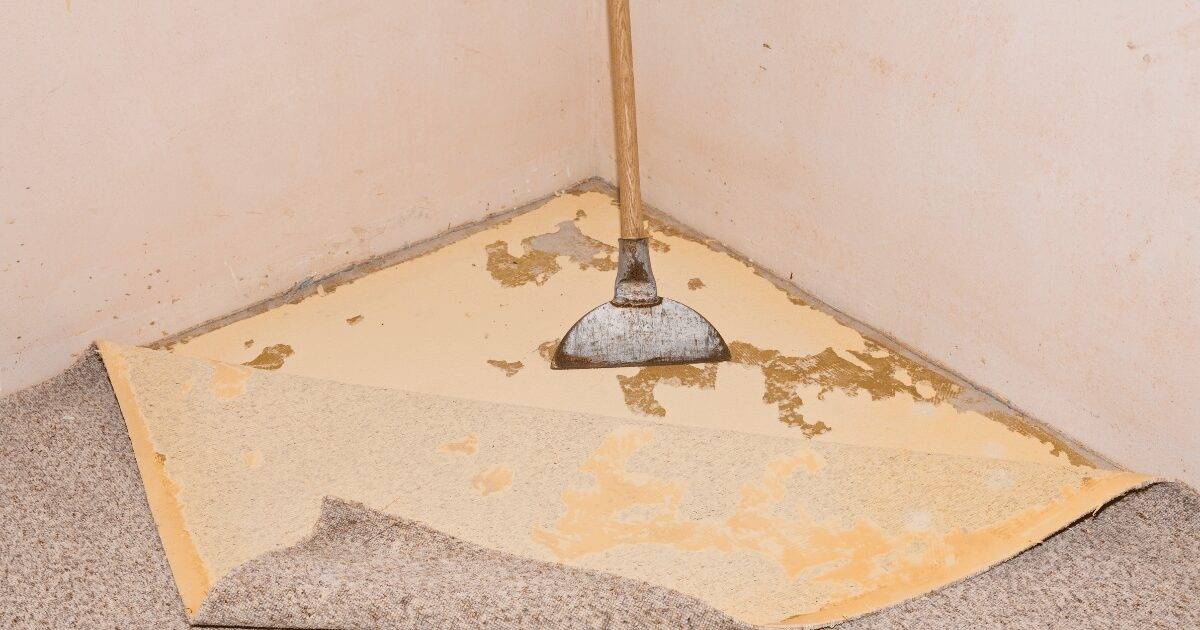
1. Preparing the Area:
- Clear the Space: Remove furniture and any obstacles from the room.
- Clean the Subfloor: Ensure the subfloor is clean, dry, and level. Any irregularities can affect the flooring’s appearance and longevity.
- Acclimate the Flooring: Store the hybrid flooring planks in the room for at least 48 hours prior to installation. This allows them to adjust to the room’s temperature and humidity, reducing the risk of expansion or contraction post-installation.
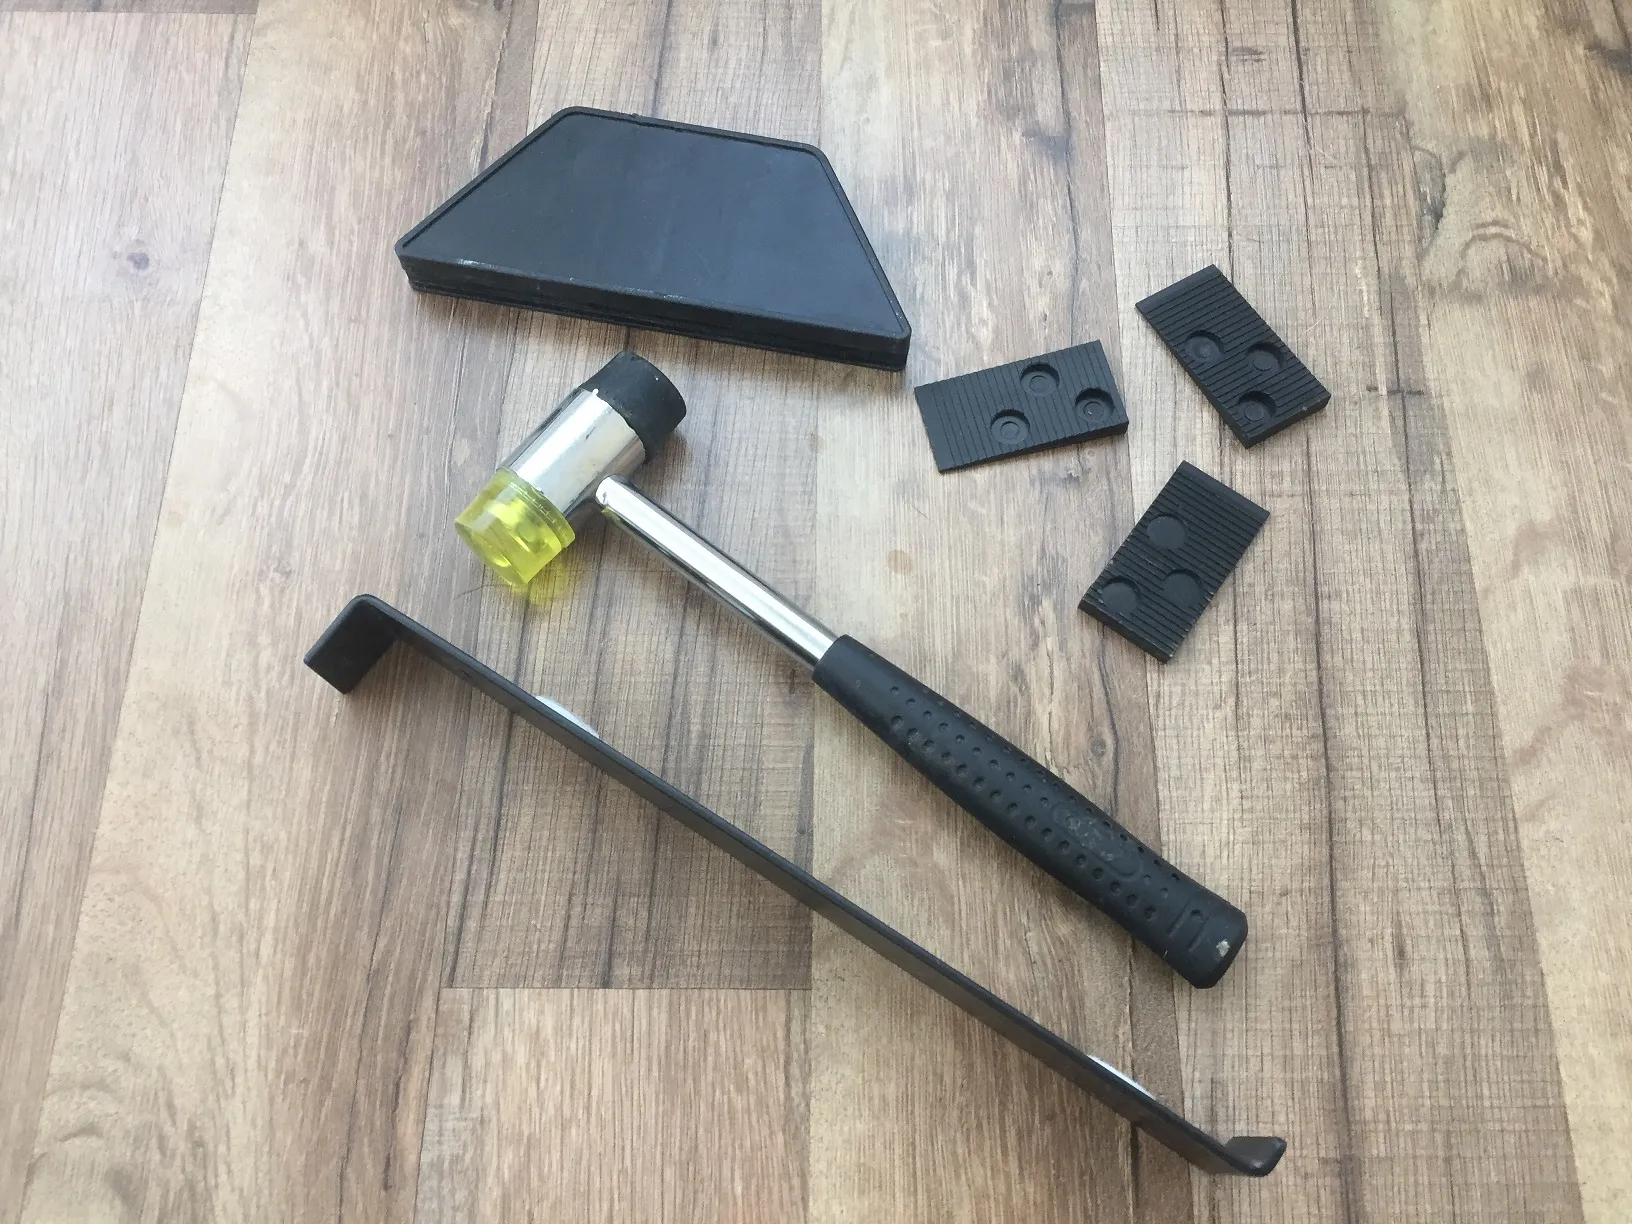
2. Gather Your Tools and Materials:
- Tools: Tape measure, utility knife, spacers, tapping block, pull bar, rubber mallet.
- Materials: Hybrid flooring planks, underlay (if required), transition strips, and skirting boards.
3. Laying the Underlay (If Required):
- Roll out the underlay parallel to the direction you will lay the flooring. Trim excess material and ensure the surface is smooth and free of wrinkles.
4. Planning Your Layout:
- Measure the Room: Determine the width of the last row of planks to avoid too narrow pieces. If necessary, trim the first row to ensure the last row is of reasonable width.
- Direction: Typically, planks are laid parallel to the longest wall or, in some cases, in the direction of the main light source.
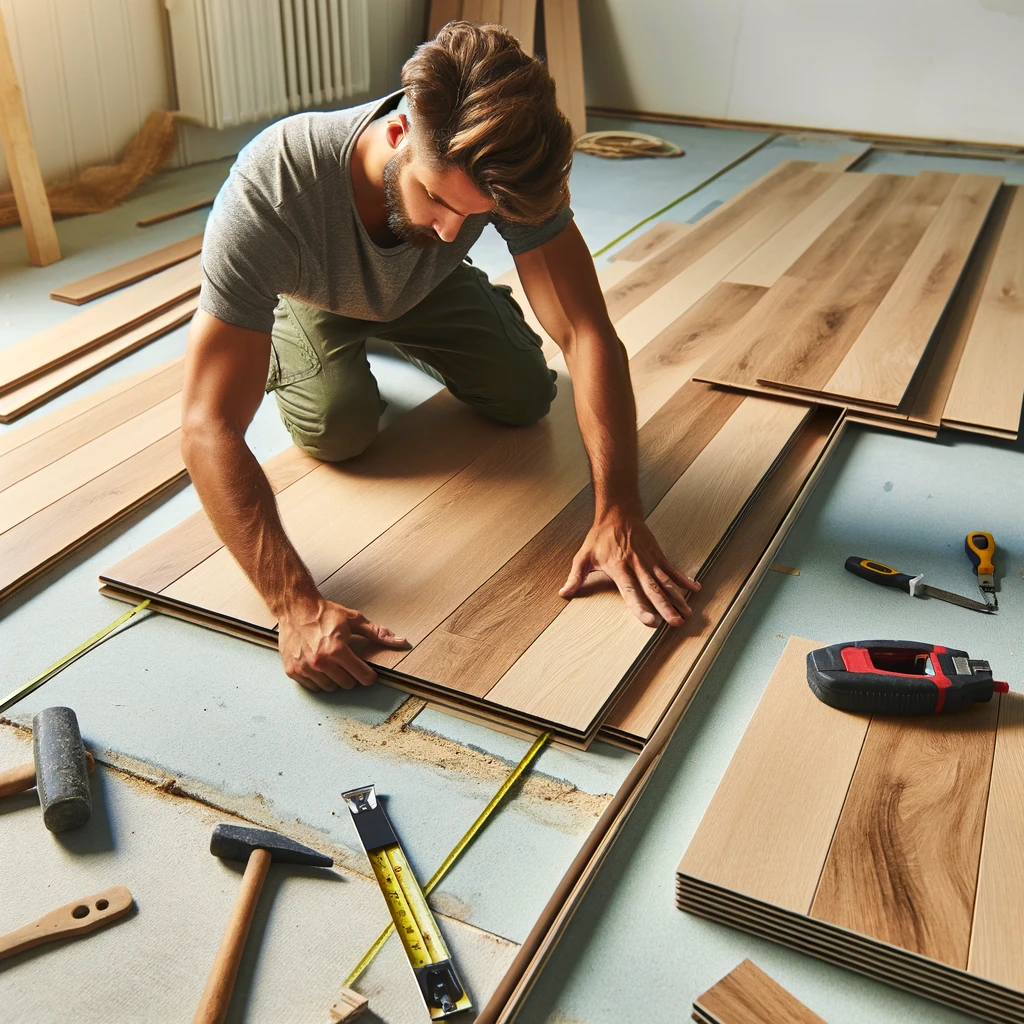
5. Installing the Planks:
- First Row: Begin in a corner, placing spacers between the wall and the planks to allow for expansion. Ensure the groove side is facing the wall.
- Click System: Align the second plank at an angle to the first, then click into place. Use a tapping block and mallet to secure the joint if necessary.
- Continue Laying: Follow this pattern, ensuring the end joints are staggered at least 30cm apart for subsequent rows.
- Last Row: Measure and cut the planks to fit, leaving room for expansion.
6. Finishing Touches:
- Install Transition Strips: Where your hybrid floor meets other flooring types, install transition strips.
- Reinstall Skirting Boards: Or install new ones to cover the expansion gaps.
7. Post-Installation Care:
- Wait Before Moving Furniture Back: Give the floor some time to settle before replacing furniture.
- Initial Cleaning: Clean the floor using a soft broom or a slightly damp mop.
8. Maintenance Tips:
- Use doormats to minimize dirt and debris.
- Regularly sweep or vacuum to keep the floor clean.
- Promptly clean up spills to prevent damage.
Conclusion: Laying hybrid flooring is a rewarding DIY project that enhances the beauty and functionality of your space. With these steps, you can achieve a professional-looking installation and enjoy your new floor for years to come. Remember to take your time and follow each step carefully for the best results. If you have any doubts or require specialized tools, don’t hesitate to consult a professional.[/vc_column_text][/vc_column][/vc_row][vc_row][vc_column][vc_raw_html]JTNDaWZyYW1lJTIwd2lkdGglM0QlMjI1NjAlMjIlMjBoZWlnaHQlM0QlMjIzMTUlMjIlMjBzcmMlM0QlMjJodHRwcyUzQSUyRiUyRnd3dy55b3V0dWJlLmNvbSUyRmVtYmVkJTJGNkgyY2g1dHFLUEklM0ZzaSUzRFBDeDYzTHJTa21jV29oU1olMjIlMjB0aXRsZSUzRCUyMllvdVR1YmUlMjB2aWRlbyUyMHBsYXllciUyMiUyMGZyYW1lYm9yZGVyJTNEJTIyMCUyMiUyMGFsbG93JTNEJTIyYWNjZWxlcm9tZXRlciUzQiUyMGF1dG9wbGF5JTNCJTIwY2xpcGJvYXJkLXdyaXRlJTNCJTIwZW5jcnlwdGVkLW1lZGlhJTNCJTIwZ3lyb3Njb3BlJTNCJTIwcGljdHVyZS1pbi1waWN0dXJlJTNCJTIwd2ViLXNoYXJlJTIyJTIwYWxsb3dmdWxsc2NyZWVuJTNFJTNDJTJGaWZyYW1lJTNF[/vc_raw_html][/vc_column][/vc_row]