
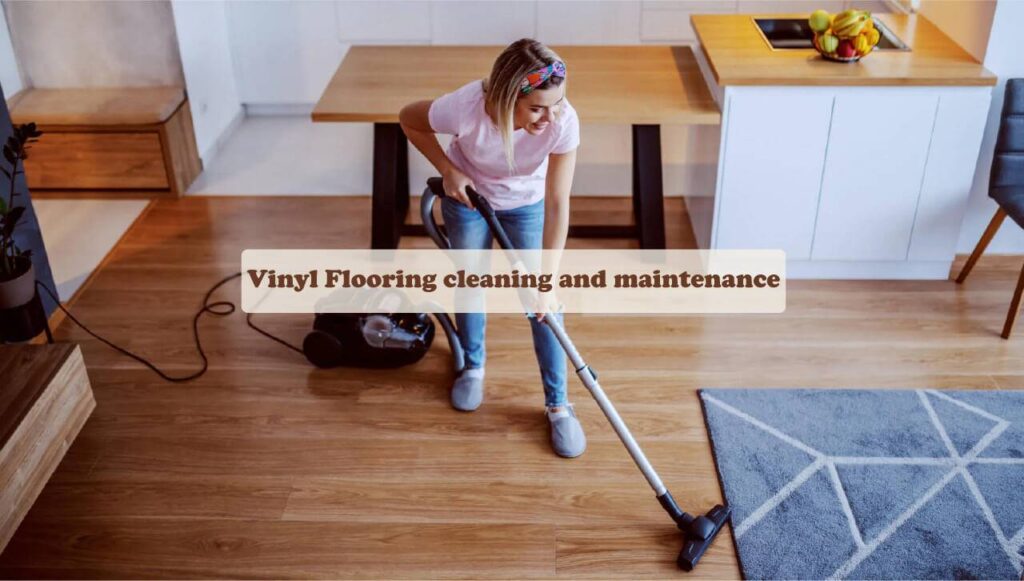
Vinyl flooring offers the perfect combination of style, durability, and ease of care. This guide will show you how to keep your vinyl floors looking their best with minimal effort, promoting a hygienic and beautiful home environment.
Cleanliness is a top priority for many, especially with the rise of remote work and study. While most germs are typically spread through touch, maintaining clean floors goes a long way in creating a healthy living space. Here’s why vinyl flooring is a great choice: mild detergents and a gentle cleaning routine are all you need to keep your vinyl, whether tiles or rolls, looking spotless and hygienic.
Traditional flooring can trap dirt and bacteria in seams and gaps over time. Dex Flooring offers solutions! Our seamless vinyl rolls are a breeze to clean, while our luxury vinyl tiles come in longer planks, minimizing those dirt-catching seams. Additionally, the tight click locking system creates a smooth, continuous surface that discourages dirt buildup and germ growth.
How to clean vinyl flooring?
Maintaining beautiful vinyl floors is a breeze! Here’s a quick and easy cleaning routine:
- Daily Dust Control: Regularly sweep or vacuum your vinyl flooring to remove loose dirt and dust. This prevents buildup and keeps your floors looking fresh.
- Weekly Deep Clean: For a more thorough clean, weekly or as needed, use a damp mop or cloth with warm water and a neutral detergent. Remember, a little water goes a long way – avoid soaking the floor. This removes dirt and keeps your vinyl in top condition.
Tackling Tough Stains on Vinyl Flooring
Don’t worry, even tougher scuffs and stains are no match for vinyl flooring! Here’s how to handle them:
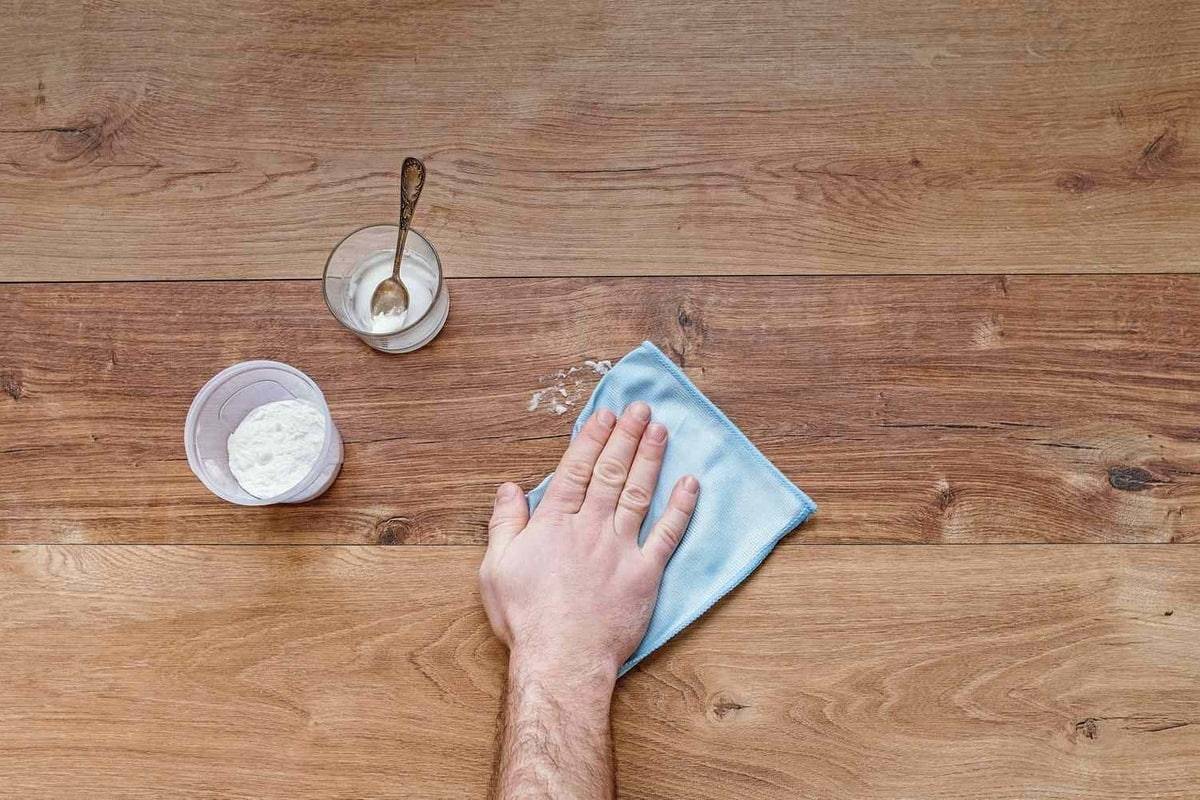
Act Fast: The sooner you address a stain, the easier it is to remove. Blot up spills immediately and tackle the stain with a nylon pad and a mild detergent. Work your way from the stain’s outer edge inwards to prevent spreading. Rinse the area thoroughly with clean water to remove any cleaning residue.
Stain-Specific Solutions: Here’s a cheat sheet for common culprits:
- Oil, Vinegar, or Lemon: These can potentially discolor vinyl. Address spills right away with a neutral detergent and warm water.
- Ink, Tomato, or Blood: For these, dab a very diluted rubbing alcohol solution directly on the stain for a few minutes. Avoid scrubbing, and then rinse with clean water.
- Pen and Marker: White spirit on a cloth is your friend! Gently rub the stain, then rinse well with water.
- Rust: An anti-rust sponge makes quick work of this. Just scrub the area and rinse with clean water.
Extra Tips for Long-Lasting Vinyl Floors
Here are some bonus tips to keep your vinyl floors looking amazing for years to come:
- Furniture Protection: Place felt pads under furniture legs and heavy objects to prevent scratches and dents.
- Say No to Rubber: Avoid using furniture with rubber soles, as they can stain vinyl over time.
- Doormat Defense: Doormats are your first line of defense against dirt and dust! They can trap up to 80% of debris before it reaches your floors, making cleaning a breeze.
- Gentle on Vinyl: Use natural, mild, or neutral detergents for cleaning. Harsh chemicals can damage the floor’s finish.
- Heat Things Up (Safely): Keep heat sources like hot appliances, ashes, or coals away from your vinyl floors to prevent warping or melting.
Vinyl Floor No-Nos:
- Abrasive cleaners like scouring powders
- Black soap (may leave a residue)
- Harsh solvents like acetone
- Wax or varnish (can make the floor slippery)
- Oil-based products
- Steam cleaners (excessive heat can damage vinyl)
Vinyl Flooring: Easy Care, Long-Lasting Beauty
Vinyl flooring is a popular choice for its durability, water resistance, and stylish look. Here at [Your Company Name], we offer vinyl flooring with a multi-directional base layer for added stability and a special PUR surface treatment for superior scratch and stain resistance. This translates to easy maintenance – unlike hardwood, vinyl doesn’t require waxing or polishing.
However, to keep your vinyl floors looking their best for years to come, here are some simple tips:
- Regular Cleaning: Follow the basic cleaning routine outlined previously – daily sweeping or vacuuming and weekly mopping with a mild detergent and warm water.
- Preventative Measures: Use doormats to trap dirt and debris before they reach your floors. Place felt pads under furniture legs to prevent scratches. Avoid using furniture with rubber soles, which can stain vinyl over time.
- Gentle Touch: Skip harsh chemicals and abrasive cleaners. Stick with natural, mild, or neutral detergents for mopping.
- Mind the Heat: Keep hot objects like appliances, ashes, or coals away from your vinyl floor to prevent warping or melting.
- Spot Treatment: For spills and stains, act quickly and address them with the appropriate cleaning solution (see our guide for specific stain removal).
By following these simple guidelines, you can ensure your vinyl floors stay beautiful and functional for many years to come.
Vinyl Floor Repairs: A Guide to Patching Up Perfection
Vinyl flooring is known for its durability, but even the toughest floor can sustain damage. Here’s a breakdown of how to tackle repairs, depending on the type of vinyl you have:
LVT (Luxury Vinyl Tile):
- Replacing Tiles: The approach varies by manufacturer. Some recommend replacing individual tiles, while others advise against it to maintain installation integrity. Always check your manufacturer’s guide for specific instructions.
- Replacing a Starfloor Click Solid 55 Tile (example):
- Carefully cut away the damaged area with a utility knife, staying within the plank’s perimeter.
- Remove the tongue and groove sections from each corner of the empty space.
- Use a heat gun to soften a new plank slightly before installation.
- Insert the long side first, pressing it firmly under the groove of the short side.
- Once positioned, snap the tongue into the groove on the opposite side.
- Replacing a Starfloor Click 30 Tile (example):
- Precisely cut around the damaged tile, following the existing joint.
- Remove the damaged piece and cut the tongue and groove sections from a new plank, ensuring proper design orientation.
- Secure the replacement plank and surrounding tiles to the subfloor using double-sided tape. Roll and press firmly to ensure a good bond.
Sheet Vinyl:
Repairing sheet vinyl can involve more complex techniques for fusing the surface or patching with new material.
- Small Scratches: For minor scratches, liquid seam sealer might be an option, but the results can be visually imperfect and the process is challenging.
General Advice:
- Manufacturer’s recommendations are key. Always refer to your vinyl flooring manufacturer’s guide for specific cleaning, maintenance, and repair instructions.
- For extensive damage or if you’re unsure about DIY repairs, consider consulting a professional flooring specialist.
Vinyl Floors: Keeping the Shine Alive
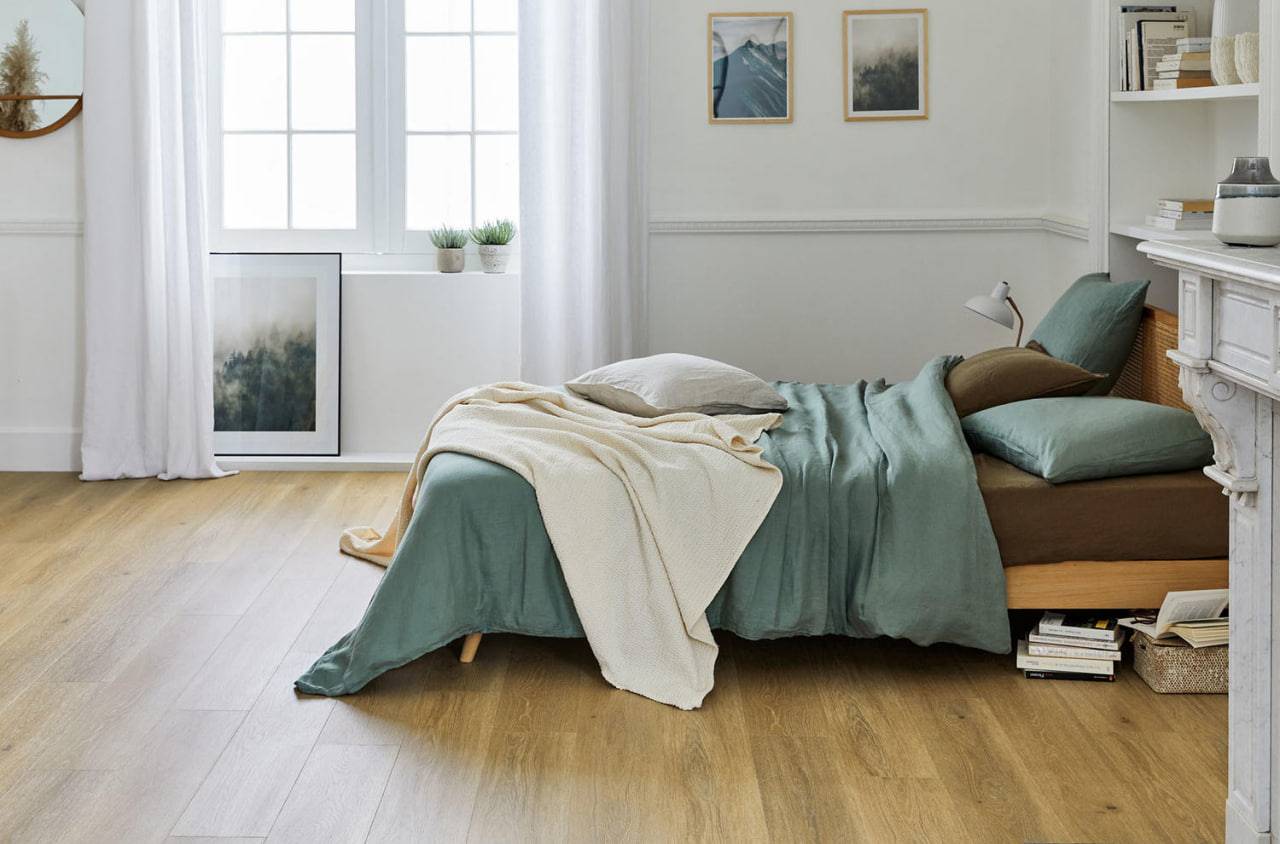
Vinyl flooring offers a fantastic combination of style and practicality. Whether you prefer a trendy matte finish or a classic high-gloss look, vinyl delivers. Here’s the key to maintaining that shine:
- Cleanliness is Key: Unlike some floorings, vinyl doesn’t require special polishes or waxes to maintain its shine. Regular cleaning is all it takes! Follow the basic cleaning routine outlined previously: daily sweeping or vacuuming and weekly mopping with a mild detergent and warm water. This removes dirt and grime that can dull the finish.
- High-Gloss Options: If you crave a truly shiny floor, opt for vinyl with a high-gloss finish during installation. This inherent shine is easy to maintain with regular cleaning.
- Skip the Shine Enhancers: Avoid using products designed for other floor types, such as hardwood floor polishes. These can leave vinyl floors sticky or damage the finish.
- Prevention is Key: Minimize dirt by using doormats to trap debris before it reaches your floors. Place felt pads under furniture legs to prevent scratches that can detract from the shine.
By following these simple tips, you can ensure your vinyl floors stay beautiful and radiant for years to come.
FAQs
Vinyl flooring continues to be a popular choice for its style, durability, and ease of care. But with so many options and trends, you might have some questions about keeping your vinyl floors looking their best.
Here are some FAQs to address those trendy vinyl flooring queries:
Q: I love the matte finish look that’s so popular. How do I keep it clean without adding shine?
A: Matte finishes are a great way to achieve a modern aesthetic. The good news is you don’t need special cleaners to maintain them. Simply follow the regular cleaning routine: sweep or vacuum daily and mop weekly with warm water and a mild detergent. Avoid using oil-based products or waxes, as these can leave a unwanted sheen.
Q: Are there any special cleaners for luxury vinyl tiles (LVT)?
A: LVT generally doesn’t require special cleaners. However, it’s always a good idea to check your manufacturer’s recommendations. Most LVT can be cleaned with the same routine as sheet vinyl: warm water, mild detergent, and a mop. Avoid abrasive cleaners or harsh chemicals, as they can damage the LVT’s surface.
Q: Can I use a steam mop on my vinyl floors?
A: While some vinyl flooring manufacturers might approve steam mops for occasional use, it’s generally not recommended. Excessive heat from steam mops can warp or damage vinyl flooring. Stick with a traditional mop and warm water for the safest cleaning method.
Q: Are there any special tricks to keeping light-colored vinyl flooring clean?
A: Light-colored vinyl floors can show dirt more easily. Here are some tips:
- Clean up spills immediately. Don’t let them sit and stain.
- Doormats are essential. Trapping dirt and debris before they enter your home will minimize tracked-in grime.
- Consider a robot vacuum. These can be programmed for regular cleaning, helping to maintain a fresh look on your light-colored floors.
Q: My vinyl floor has a wood-like pattern. How do I care for it differently from plain vinyl?
A: Regardless of the pattern, the cleaning routine remains the same: sweep/vacuum daily and mop weekly with warm water and mild detergent. Avoid harsh chemicals or abrasive cleaners that could damage the vinyl’s printed surface. For textured vinyl planks that mimic wood grain, you might find a microfiber mop even more effective at trapping dirt in the grooves.