
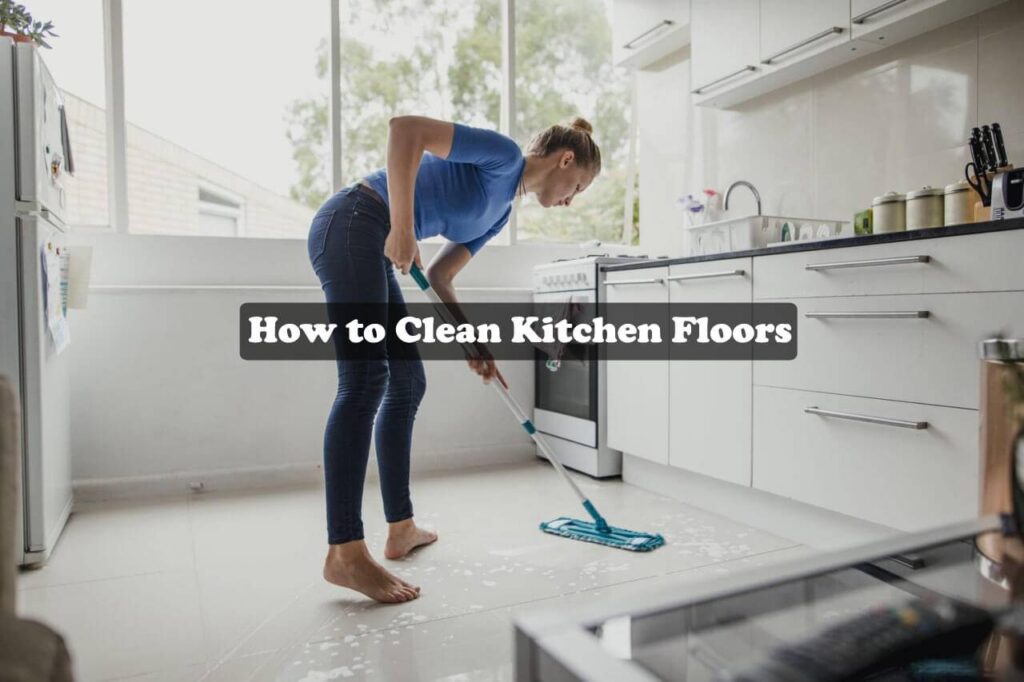
Spills, splatters, and tracked-in messes – kitchens take a beating! But don’t worry, keeping your kitchen floor clean doesn’t have to be a daily struggle. With a quick daily sweep and a weekly mopping, you can banish dirt and grime. The key? Using the right cleaning solution for your specific floor type. From resilient tile to beautiful hardwood, we’ll unveil the perfect cleaning routine for every kitchen floor. Harsh chemicals are a no-go, so we’ll focus on safe and effective methods that leave your floors sparkling without causing damage. Let’s dive in and make those kitchen floors shine!
Keeping Linoleum Sparkling: Easy Cleaning Routines
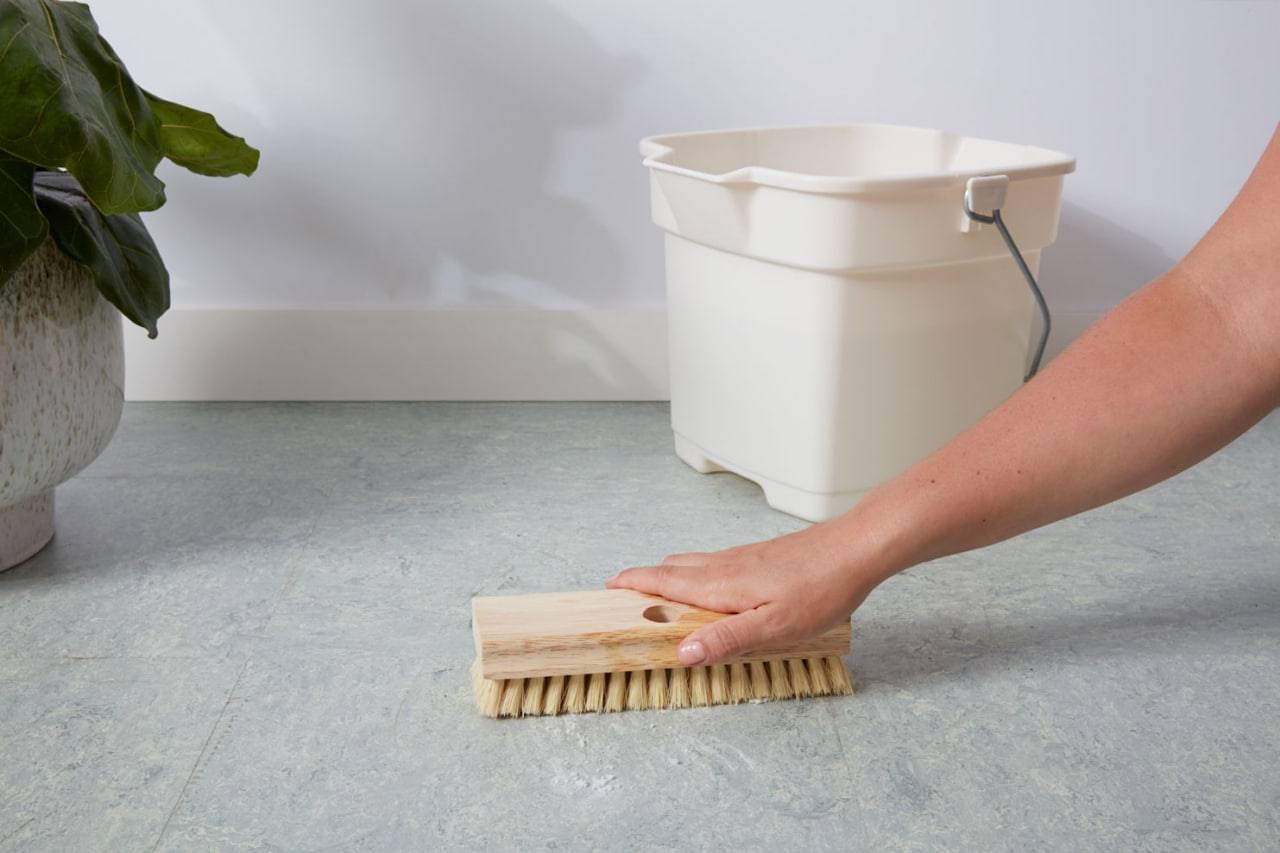
Linoleum floors are a popular choice for kitchens thanks to their durability and style. But even resilient floors need some TLC! Here’s how to keep yours looking its best:
- Weekly Wipe Down: For everyday cleaning, a quick damp mop will pick up spills and dust.
- Seasonal Deep Clean: For a more thorough clean a few times a year, opt for a non-abrasive all-purpose cleaner specifically designed for linoleum.
- Unsure About the Floor? If you’re not sure what type of linoleum you have, play it safe with a natural cleaning solution. A mix of mild vinegar and water is a gentle yet effective way to clean your floor.
Easy Cleaning for Kitchen Tile Floors
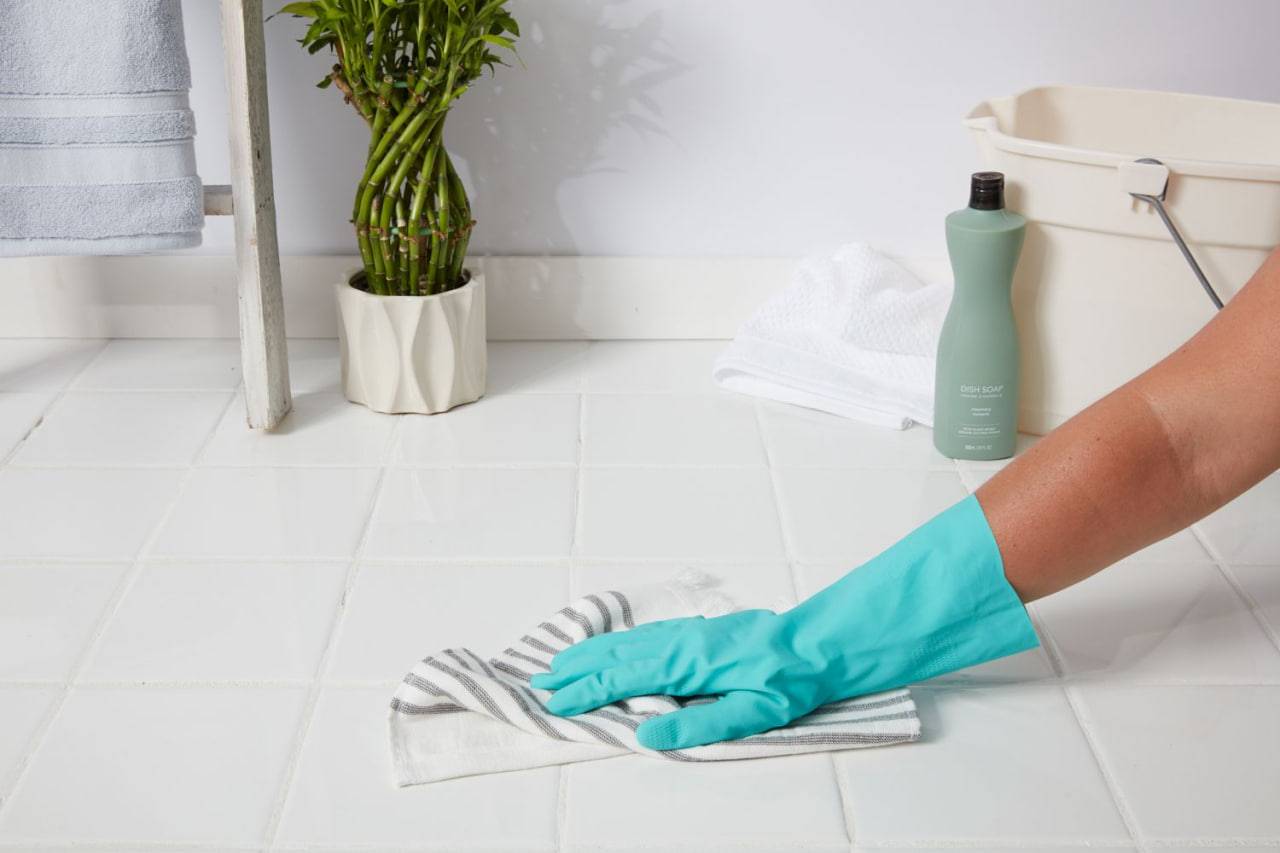
Ceramic tile floors are a popular choice for kitchens thanks to their durability and ease of cleaning. Here’s how to keep your tile floors sparkling:
- Simple Weekly Clean: Mix warm water with a mild dish soap or detergent. Skip the sponge mop – it can trap dirt in grout lines. Opt for a rag or chamois mop instead, which will effectively clean the tiles.
- Pro Tip: Banish Water Spots! Don’t let your beautiful floors air dry. After mopping, grab a clean, lint-free cloth and immediately dry the surface to prevent water spots.
Grout Rescue: Baking Soda to the Rescue!
Over time, grout can get grimy. Here’s how to tackle it safely:
- Create a paste by slowly adding water to baking soda.
- Apply the paste to the grout lines and scrub gently with a soft bristle brush.
- Rinse the grout lines thoroughly to remove the baking soda paste.
- Finish by drying the grout with a microfiber towel.
With this simple routine, your kitchen tile floors will stay clean and bright for years to come!
Laminate TLC: Keeping Your Kitchen Floors Shiny
Laminate floors add a touch of beauty to kitchens, but they require special care. Here’s how to keep them looking their best:
- Gentle Mops are Key: For regular cleaning, use a lightly damp mop with a gentle cleanser. A DIY solution of vinegar and water works wonders!
- Beware the Wet Mop: Excess moisture can damage laminate, so avoid soaking the floor. A damp mop is all you need.
- Dry Like a Pro: After mopping, use a microfiber cloth to dry the laminate floor completely. This prevents a cloudy film from forming.
- Nix the Shiny Stuff: Skip wax, acrylic products, and bleach! These can damage the laminate’s finish, leaving your floor looking dull.
By following these simple tips, your laminate kitchen floors will stay beautiful and protected for years to come!
Cleaning Your Hardwood Kitchen Floors
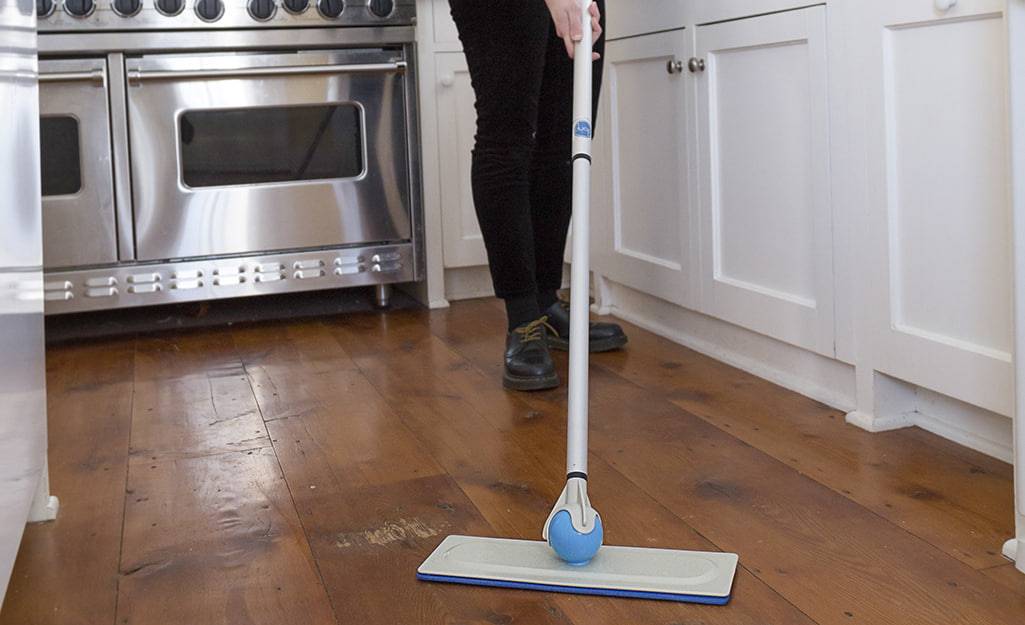
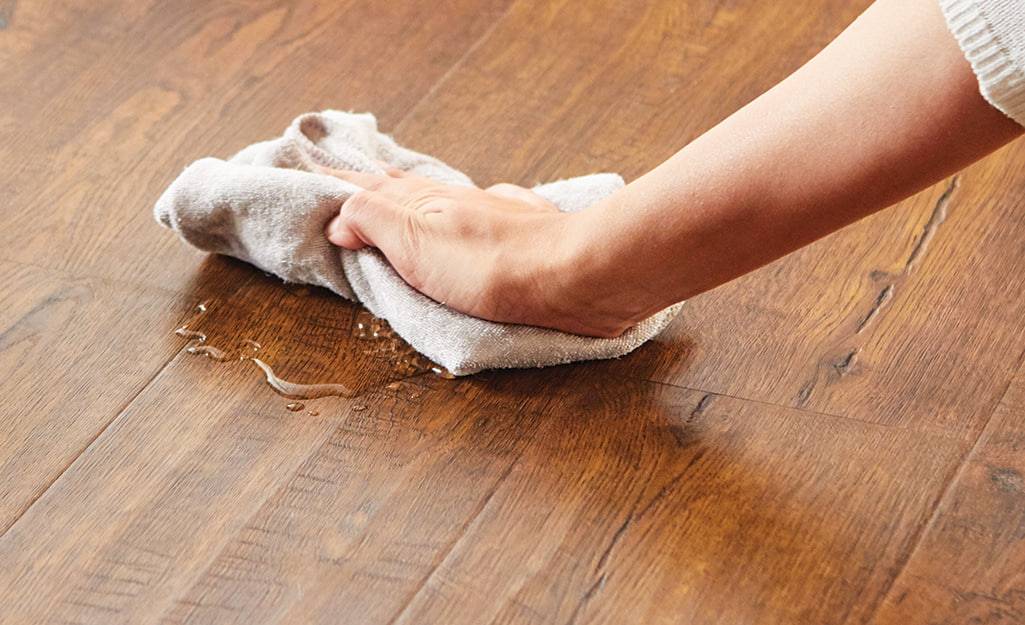
Hardwood floors add warmth and character to any kitchen. Here’s how to keep them looking their best:
- Routine Sweeping & Dry Mopping: Make sweeping a daily habit to remove loose dirt and crumbs. Weekly dry mopping with a microfiber cloth picks up dust and prevents buildup.
- Deep Cleaning for Extra Shine: For a deeper clean, tackle your hardwood floors once or twice a year. Here’s what you’ll need:
- A hardwood mop
- Specialized wood floor cleaning product (diluted as per instructions)
- Saturate the mop with the cleaning solution, then wring it almost dry. It should feel slightly damp, not soaking.
- Mop the floor carefully, avoiding standing water – this can damage the wood.
- If your cleaning product recommends rinsing, use a clean, damp mop to do so.
- Wipe up any excess liquid immediately. Wood floors and water don’t get along!
With this routine, your beautiful hardwood kitchen floors will continue to shine for years to come.
DIY Magic: Gentle Kitchen Floor Cleaners You Can Make
Looking for a safe and effective way to clean your kitchen floors? Store-bought cleaners can be harsh and expensive. Luckily, you can create your own gentle yet powerful cleaning solutions at home! This is especially helpful if you have new floors you want to protect or existing floors that need some TLC.
Remember: Always check the manufacturer’s recommendations for your specific flooring type. If unsure, opt for a gentle homemade solution like the ones below:
- All-Stars for Most Floors: A classic vinegar and water mix is a fantastic choice for many floor types. Simply combine equal parts white vinegar and warm water in a spray bottle. This solution cuts through grime and disinfects without harming most surfaces.
- Extra Power for Grease: For tackling greasy kitchen messes, consider a solution with a bit more muscle. Combine 1 cup warm water, ½ cup rubbing alcohol, and ¼ cup white vinegar in a spray bottle. This is a great option for linoleum, vinyl, and ceramic tile.
Important Note: Avoid harsh chemicals and abrasive cleaners. These can damage your floor’s finish and leave it looking dull. By using gentle homemade solutions, you can keep your kitchen floors sparkling clean without sacrificing their beauty or longevity.
Kitchen Floor Powerhouse: Baking Soda & Vinegar Cleaning Solution
Looking for a natural and effective way to clean your kitchen floors? Look no further than the dynamic duo of baking soda and vinegar! This DIY solution tackles grime effectively, but be mindful – it’s not suitable for natural stone or hardwood floors.
Here’s what you’ll need:
- Spray bottle
- 1/2 cup warm water
- 1/2 cup dishwashing detergent
- 1-2/3 cups baking soda
- 2 tablespoons distilled white vinegar
Mixing Up the Magic:
- Combine all ingredients in a large bowl or container.
- Stir well until the baking soda dissolves completely.
- Transfer the mixture to your spray bottle.
Cleaning Like a Pro:
- Work in small sections to ensure thorough cleaning.
- Spray the solution onto your floor.
- Mop the area clean, ensuring the solution reaches nooks and crannies.
- Crucial Step: Rinse the floor thoroughly with clean, warm water. This removes any baking soda residue that could leave behind streaks.
Skip the Rinse, Regret the Consequence!
Rinsing is essential! Baking soda can leave a stubborn film if not rinsed properly. So, grab a clean mop and warm water, and give your floor a good final rinse.
By following these steps, your kitchen floors will be sparkling clean and grime-free, all thanks to the power of baking soda and vinegar! Remember, this solution is best for most kitchen floor types except natural stone and hardwood.
FAQs
Here are some frequently asked questions to complement your kitchen floor cleaning guides:
Q: How often should I clean my kitchen floors?
A: For daily cleaning, a quick sweep or vacuuming is recommended to remove loose dirt and crumbs. Weekly mopping with an appropriate cleaning solution helps remove grime and prevent buildup.
Q: How much water should I use when mopping my kitchen floors?
A: It’s crucial to avoid using excessive water, especially on wood laminate floors. Aim for a damp mop, not soaking wet. Wring out your mop thoroughly before cleaning.
Q: What cleaning tools should I use for my kitchen floors?
A: The best mop will depend on your floor type. Here’s a general guide:
Microfiber mops: Suitable for most floor types, including laminate, tile, and vinyl.
Chamois mops: Great for linoleum and tile floors as they absorb water effectively.
Sponge mops (avoid for tile): While convenient, they can push dirty water into grout lines.
Q: Can I use vinegar and water to clean all types of kitchen floors?
A: Vinegar is a fantastic natural cleaner, but it’s not suitable for all floors. Avoid using it on natural stone floors like granite or marble, as it can dull the finish. It’s generally safe for linoleum, vinyl, and ceramic tile when diluted with water.
Q: Is baking soda safe to use for cleaning kitchen floors?
A: Baking soda is another great natural cleaning agent. However, it can leave a film if not rinsed thoroughly. It’s not recommended for natural stone floors or unfinished wood floors.
Q: How can I remove stubborn grime from my tile grout?
A: Make a paste with baking soda and water. Apply the paste to the grout lines and scrub with a soft bristle brush. Rinse thoroughly and dry with a microfiber cloth.
Q: What should I avoid using on my laminate floors?
A: Skip harsh chemicals, waxes, and oil-based products. These can damage the laminate’s finish. Opt for gentle cleaners specifically designed for laminate floors.
Q: How often should I deep clean my hardwood floors?
A: Deep clean your hardwood floors 1-2 times a year using a specialized wood floor cleaning product diluted according to the manufacturer’s instructions.