

Linoleum, with its rich history and unique composition, offers a compelling alternative to conventional flooring options. This natural beauty, crafted from renewable materials like cork and linseed oil, isn’t just about aesthetics; It boasts a spectrum of advantages that resonate with environmentally conscious homeowners and design enthusiasts alike.
Are you considering upgrading your floors with a material that prioritizes both eco-friendliness and durability? Then, delve into the world of linoleum! In this comprehensive guide, we’ll unveil the secrets behind this timeless flooring choice, guiding you through its installation process, highlighting its benefits, and addressing potential concerns. So, get ready to discover a flooring solution that seamlessly blends sustainability with stunning style.
Tools and Materials for Your Linoleum Adventure?
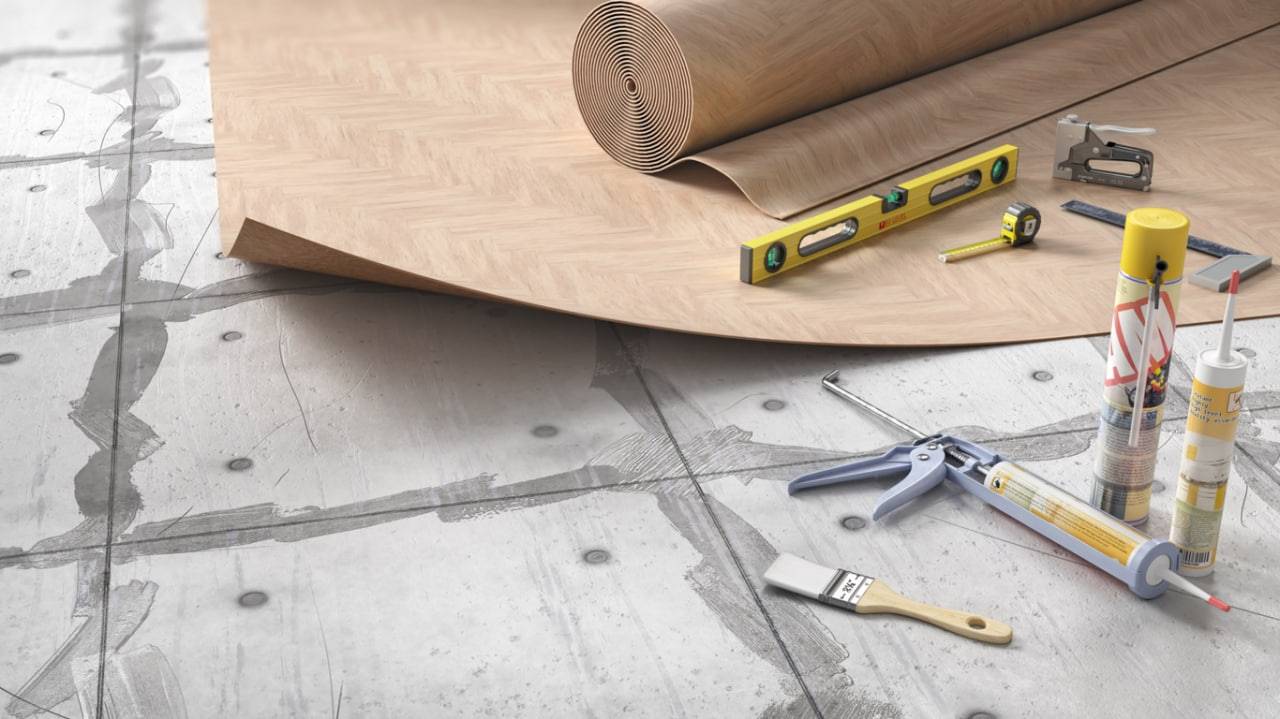
Before embarking on your linoleum installation journey, ensure you have the necessary tools and materials assembled. Here’s a handy checklist to get you started:
Essentials:
- Measurement:
- Tape measure
- Straight edge
- Pencil
- Cutting:
- Sharp utility knife with extra blades
- Safety glasses
- Adhesive:
- Notched trowel (size depends on adhesive type)
- Linoleum-specific adhesive (follow manufacturer’s recommendations)
- Laying and Smoothing:
- Seam roller
- Floor roller
- Masking tape
- Finishing Touches:
- Seam tape or sealant (if using tiles)
- Caulk
Optional, but Helpful:
- Level
- Knee pads
- Dust mask
- Jigsaw (for intricate cuts)
- Chalk line (for marking straight lines)
- Putty knife (for removing old flooring or adhesive residue)
Materials:
- Linoleum sheets or tiles (enough to cover your floor space with extra for trimming)
- Underlayment (optional, recommended for uneven subfloors)
- Baseboard materials (if replacing)
Embrace Sustainable Style: A Step-by-Step Guide to Installing Linoleum Flooring
Transform your space with the timeless beauty and eco-friendly appeal of linoleum flooring. This comprehensive guide equips you with the knowledge and steps to navigate the installation process seamlessly. Remember, meticulous preparation and careful execution are key to a stunning and durable result.
Step 1: Measure and Plan Wisely
- Grab your trusty tape measure: Accurately record the room’s dimensions, including alcoves and protrusions. Remember, thorough measurement helps you purchase the right amount of linoleum – err on the side of caution and add 10% extra for trimming.
- Assess your subfloor: Check the condition of your existing floor. While linoleum provides some forgiveness, rough surfaces like waferboard require an additional layer of plywood for optimal adhesion. Consider removing the old flooring if necessary.
Step 2: Let Linoleum Acclimate
- Give it time to adjust: Linoleum needs approximately 24-48 hours to adapt to your home’s temperature and humidity. This “acclimation” period prevents future issues like contraction or expansion.
- Plan for expansion: When laying the linoleum, leave a ¼-inch buffer around the edges to accommodate natural movement.
Step 3: Clear the Canvas
- Remove obstacles: Furniture, baseboards, appliances, and doors create hurdles during installation. Use a hammer or pry bar for baseboards and a screwdriver for doors. Remember, navigating around doors while laying the linoleum can be tricky.
Step 4: Level Up Your Subfloor
- Smooth sailing is key: While linoleum’s backing offers some cushion, ensure your subfloor is level and free of bumps or depressions. Use a level to check for unevenness and address any imperfections before proceeding.
Step 5: Mark Your Course with Precision
- Measure twice, cut once: Accuracy is crucial. Use a tape measure to carefully mark cut lines directly on the linoleum, ensuring straightness with a straightedge. Remember, mistakes here can lead to wasted material.
Step 6: Slice with Confidence
- Utility knife vs. jigsaw: A sharp utility knife is your primary tool, but for intricate cuts, a jigsaw can be helpful. When using a utility knife, score the linoleum lightly before completing the cut.
Step 7: Apply the Adhesive with Care
- Trowel magic: Spread a thin, even layer of linoleum-specific adhesive onto the subfloor using a notched trowel. Remember, consistency is key – avoid applying too much adhesive, as it can squeeze out and create bumps.
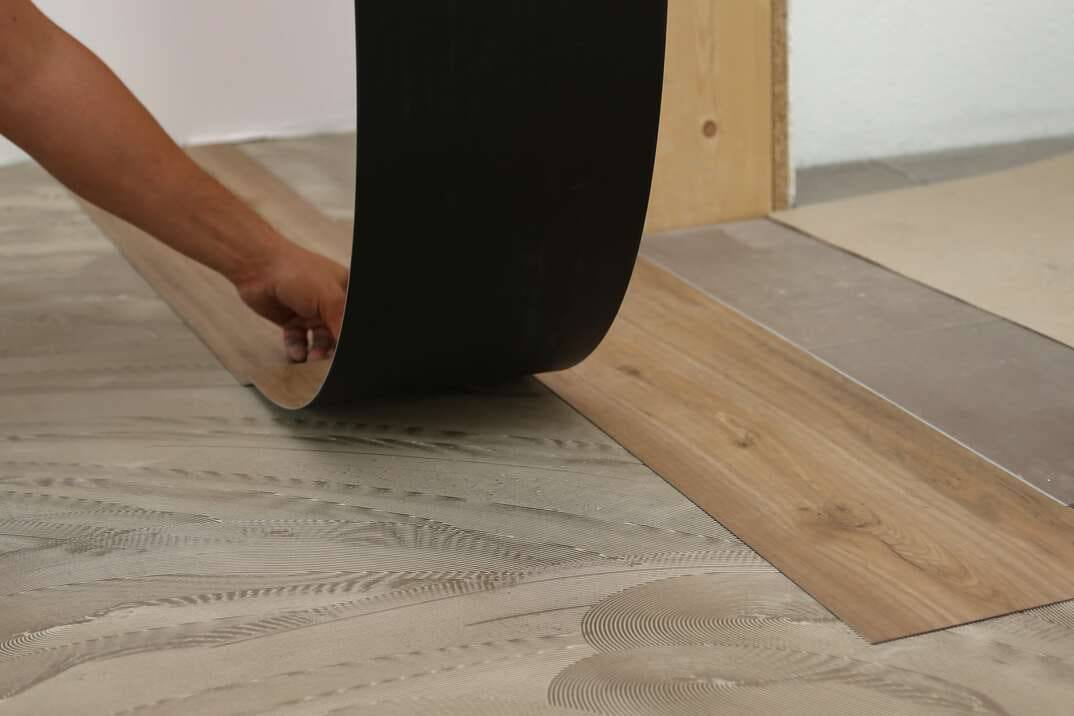
Step 8: Lay, Smooth, and Seal
- Lay with precision: Carefully position the linoleum onto the adhesive, starting from the corner furthest from the door. Work your way out systematically, smoothing out any air bubbles with a seam roller.
- Roll and seal for perfection: After laying the entire floor, use a floor roller (rentable from hardware stores) to ensure proper bonding. Apply sealant between seams to prevent water damage and peeling. For an extra touch, linoleum sealant can add a beautiful glossy finish.
Step 9: Rest and Reassemble
- Give it time to cure: Avoid walking on the newly installed floor for 24 hours to allow the adhesive to set completely.
- Welcome back your belongings: Once the curing period is over, reassemble the room – replace furniture, doors, baseboards, and appliances you removed earlier.
Step 10: The Finishing Touches
- Seal for lasting beauty: Pay attention to areas like baseboards, toilets, and appliance zones – apply caulk where necessary to prevent moisture issues. Opt for latex or acrylic latex-based caulk for optimal results.
Bonus Tip: Always consult the manufacturer’s instructions for specific recommendations regarding your chosen linoleum product and adhesive. This ensures optimal results and a beautiful, long-lasting floor.
Stepping into Sustainability: Linoleum Flooring Installation Complete!
Congratulations! You’ve successfully navigated the linoleum installation process, transforming your space with a floor that’s both stylish and environmentally conscious. Now, bask in the satisfaction of your accomplishment and enjoy the many benefits your new linoleum offers:
- Durability: Linoleum withstands everyday wear and tear, standing strong for years to come.
- Easy Maintenance: Cleaning is a breeze with regular sweeping and occasional mopping.
- Natural Beauty: The inherent charm of linoleum adds warmth and character to any room.
- Sustainable Choice: You’ve contributed to a healthier planet by choosing a natural, renewable material.
Remember, regular maintenance will help preserve the beauty and longevity of your linoleum floor. By following simple cleaning routines and addressing any spills promptly, you can ensure your sustainable masterpiece continues to shine for years to come.
So, relax, admire your handiwork, and enjoy the eco-friendly elegance of your newly installed linoleum flooring! And remember, whenever you walk on it, you’re not just stepping on a floor, you’re stepping into a commitment to sustainability and responsible living.
Linoleum Flooring: Frequently Asked Questions
Is linoleum difficult to install?
Linoleum installation requires careful planning and attention to detail, but it’s definitely a DIY project for enthusiastic homeowners with basic skills. This guide provides a step-by-step process, and many online resources offer video tutorials for visual learners. If you’re unsure about your skills or have a complex layout, consider consulting a professional installer.
How long does linoleum flooring last?
With proper care and maintenance, linoleum floors can last 20-40 years, and some even reach 50 or 100 years! Manufacturers often offer warranties up to 25 years, but the lifespan ultimately depends on factors like subfloor preparation, installation quality, and daily wear and tear.
Is linoleum waterproof?
While linoleum is water-resistant, it’s not entirely waterproof. Spills should be cleaned promptly to prevent moisture from seeping into the seams or subfloor. Using sealants and maintaining a clean surface further enhances its moisture resistance. For areas prone to frequent water exposure, like bathrooms, consider alternative flooring options.
Is linoleum good for high-traffic areas?
Absolutely! Linoleum is renowned for its durability and can handle high-traffic areas like kitchens, hallways, and even commercial spaces. Its tough composition resists scratches, dents, and wear and tear remarkably well.
Is linoleum easy to clean?
Maintaining the beauty of your linoleum floor is simple! Regular sweeping and occasional mopping with a mild cleaning solution are all you need. Avoid harsh chemicals, abrasive cleaners, and excessive water. With its naturally stain-resistant surface, linoleum requires minimal effort to keep it looking its best.
Is linoleum eco-friendly?
Yes, linoleum is a champion of sustainability! Made from renewable materials like flaxseed oil and cork dust, it boasts a small environmental footprint during production and throughout its lifespan. Choosing linoleum over synthetic options significantly reduces your carbon impact.
Does linoleum come in different colors and styles?
Absolutely! You’re not limited to the classic marbled look. Modern linoleum comes in a diverse array of colors, patterns, and textures, allowing you to match your unique design aesthetic. From solid colors to natural stone mimics, the possibilities are endless!