
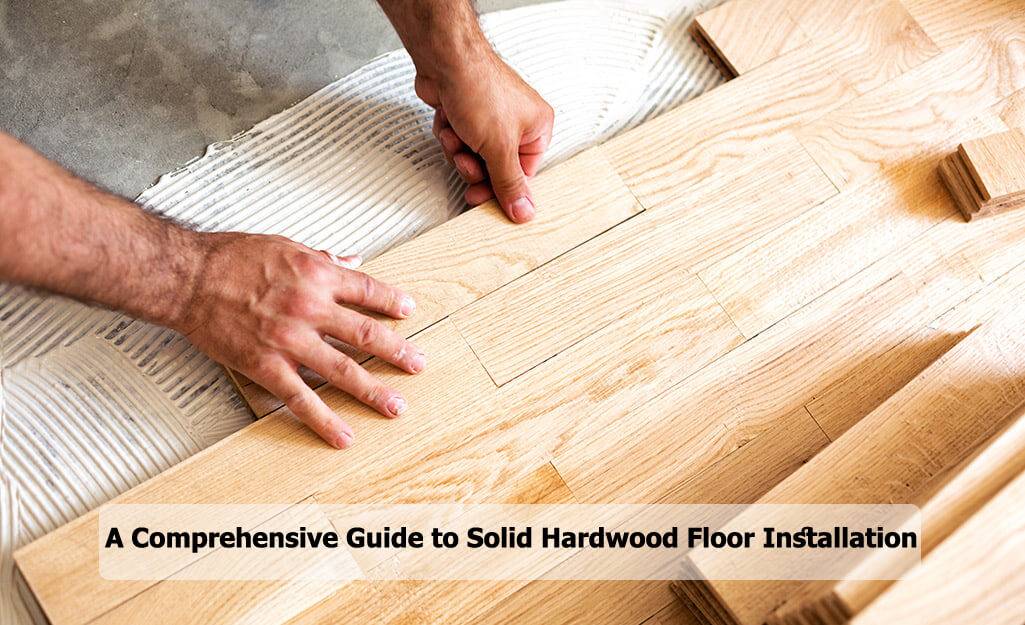
The rich texture, timeless beauty, and enduring value of a solid hardwood floor are undeniable. But transforming that dream into a reality requires careful planning and skilled execution. This guide is your passport to confident installation, empowering you to bring the warmth of solid hardwood into your home.
Whether you’re a seasoned DIYer or a curious novice, we’ll navigate you through every step, from meticulous preparation to the satisfying click of the final plank. We’ll demystify essential tools and techniques, anticipate potential challenges, and offer expert tips to ensure a flawless finish.
More than just a practical manual, this guide is your companion on a journey of creation. Imagine the joy of running your bare feet across the smooth surface, the way sunlight dances on the natural grain, and the enduring satisfaction of a project well done. Let’s begin!
Step into a world of timeless elegance and enduring value with the magic of solid hardwood floors! This in-depth guide empowers you to navigate every step of the installation process, transforming your dream into a stunning reality. Remember, meticulous preparation sets the stage for success, so grab your DIY spirit and let’s embark on this rewarding journey!
Phase 1: Meticulous Planning & Preparation
- Acclimatization is Key: Give your unopened hardwood flooring a warm welcome! Store it in the room for at least 72 hours, allowing it to adjust to the ambient temperature and humidity. This prevents warping and ensures a smooth installation.
- Subfloor Scrutiny: Before laying the foundation for your masterpiece, meticulously assess your subfloor. Ensure it’s level, flat, and free of imperfections. Unevenness? Address it with sanding or patching for a solid base.
- Methodical Marvels: Choose your installation method based on your subfloor type and preferences. Nail-down offers stability, glue-down adheres to concrete, and staple-down provides flexibility. Explore each option to find your perfect match.
- Tool Time: Assemble your arsenal of DIY warriors! Stock up on a power saw for precise cuts, a mallet for gentle persuasion, a tape measure for accuracy, spacers for consistent gaps, and your chosen fastening equipment (nails, glue gun, or staple gun).
- Masterful Layout: Strategize your installation for minimal waste and visual harmony. Draw a detailed plan to map out the board placement, considering staggering lengths for a natural aesthetic.
Phase 2: The Installation Symphony Begins!
- Expansion Gap: The Room to Breathe: Allow your hardwood to expand and contract naturally by leaving a ¼-inch gap around the room’s perimeter. Use spacers religiously throughout the installation to maintain this vital gap.
- The All-Important First Row: Commence your installation with the crème de la crème – the straightest boards! Start with the tongue side facing the wall and secure them using your chosen method. Remember, predrilling nail holes prevents unwanted splitting.
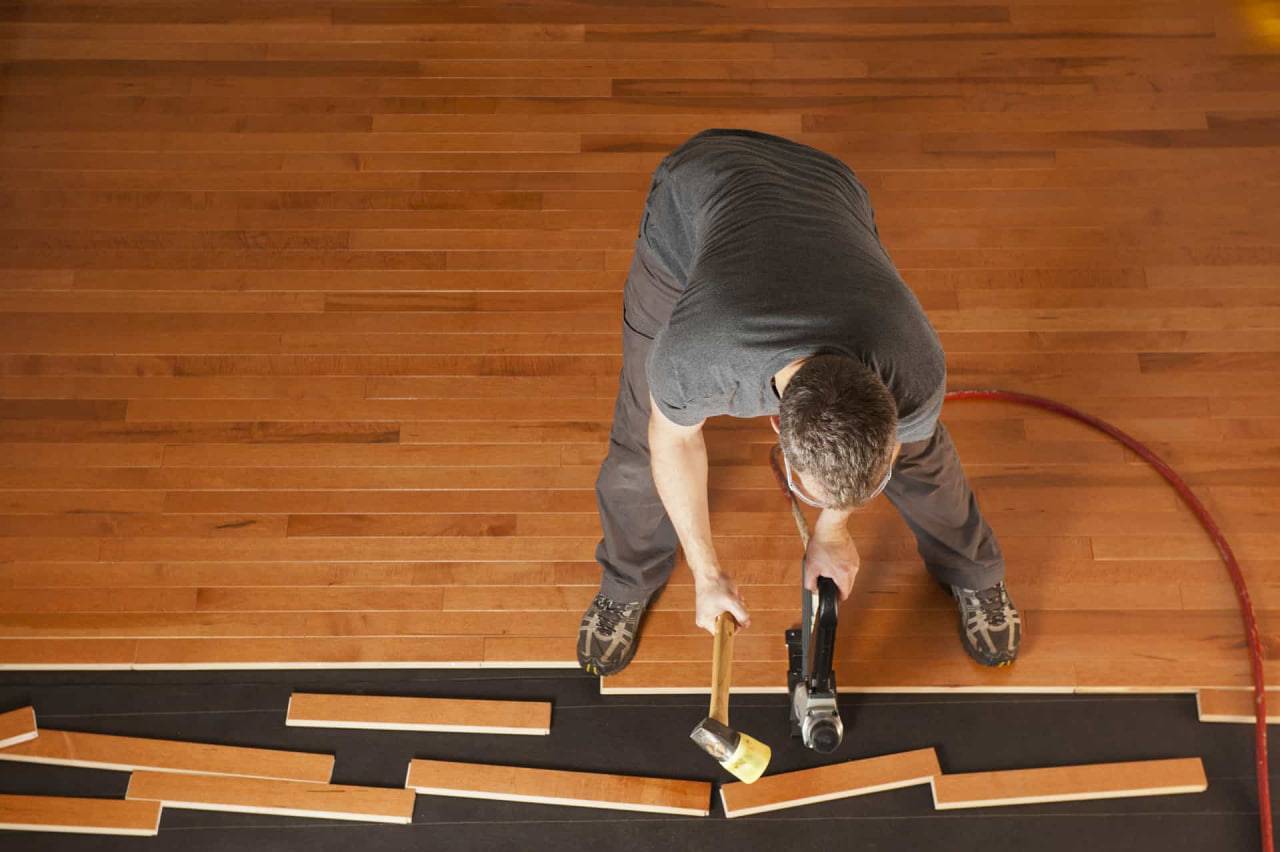
- Row by Rhythmic Row: Embrace the satisfying click-clack of connecting boards! Use a tapping block and mallet to gently persuade boards into their tongue-and-groove destiny. Remember the beauty of staggering lengths within each row for a touch of visual intrigue.
- Curbing Your Enthusiasm (with Precise Cuts): Patience is key when it comes to cutting boards for corners and doorways. Measure meticulously and utilize a jigsaw or circular saw equipped with a fine-tooth blade to achieve those perfect fits.
- Securing Your Masterpiece: Meticulously repeat the board connecting and securing process, religiously maintaining the expansion gap and staggering your board lengths for a balanced look.
Phase 3: The Grand Finale – Finishing Touches
- Farewell, Nail Holes (if applicable): Vanquish any nail holes with wood putty or filler that seamlessly blends with your chosen stain color. Once dry, sand smooth for an invisible finish.
- Bridging the Gaps (Transitions): Connect your hardwood masterpiece to other flooring types using T-molding or reducers, ensuring a seamless and professional aesthetic transition.
- Optional Buff and Shine: Elevate your creation to new heights with an optional sanding and buffing session. Embrace a smooth, professional finish that reflects both your dedication and the inherent beauty of the wood.
- The Jewel in the Crown (Stain & Sealant): Choose a stain color that resonates with your decor and meticulously apply it for even coverage. Finally, shield your masterpiece with a protective sealant, ensuring its beauty endures for generations to come.
Remember: The path to hardwood floor perfection is paved with patience and precision. Don’t be afraid to take your time, consult professional resources if needed, and celebrate every successful step. With this comprehensive guide and unwavering dedication, you’ll soon be walking on a stunning testament to your DIY prowess – a solid hardwood floor that radiates warmth, beauty, and enduring value in your home!
Bonus Gems for the Discerning DIYer:
- Conquer larger rooms in manageable sections to avoid feeling overwhelmed.
- Practice cutting techniques on scrap pieces before unleashing your skills on the real deal.
- Spills and sawdust are the enemies of a flawless finish – address them promptly to prevent unwanted stains.
- For complex layouts or uneven subfloors, consider seeking the expertise of professional installers.
Embrace the journey of creating a one-of-a-kind solid hardwood floor, a testament to your skill and a source of pride for years to come!
The Final Step: Stepping into Your Dream
As you take your first barefoot steps on your newly installed solid hardwood floor, a wave of accomplishment washes over you. The meticulous planning, the rhythmic installation process, and the final touches of sanding, staining, and sealing all culminate in this moment of pure satisfaction.
This handcrafted haven you’ve created isn’t just a floor; it’s a testament to your dedication, a canvas for cherished memories, and a timeless addition that elevates your entire living space. The warmth underfoot, the natural beauty of the wood grain, and the enduring value you’ve added to your home will be a constant source of pride for years to come.
Remember, the journey wasn’t always smooth, but the challenges you conquered and the skills you honed have empowered you to tackle future projects with newfound confidence. And whenever you gaze upon your masterpiece, let it serve as a reminder that with dedication, planning, and the right guide, even the most ambitious DIY dreams can be transformed into stunning reality.
So, step into your dream, enjoy the fruits of your labor, and bask in the timeless beauty of a solid hardwood floor you created with your own hands. Cheers to your DIY spirit, and happy barefoot wanderings!
FAQs: Conquering Your Solid Hardwood Floor Installation
Q: How long does it take to install a solid hardwood floor?
A: Installation time depends on the size and complexity of your room, your experience level, and the chosen method. A small room with a simple layout might take a dedicated DIYer a weekend, while larger, intricate spaces could require several days or even professional assistance. Remember, patience and precision are key, so prioritize quality over speed.
Q: Do I need professional help with the installation?
A: Not necessarily! If you’re comfortable with DIY projects, meticulous planning, and basic carpentry skills, tackling the installation yourself is a rewarding experience. However, seeking professional help is wise if you have a complex layout, uneven subfloors, limited DIY experience, or simply prefer peace of mind.
Q: What’s the difference between nail-down, glue-down, and staple-down installation methods?
A: Nail-down: Offers superior stability and is ideal for concrete subfloors. Requires precise predrilling to prevent splitting. Glue-down: Perfect for uneven subfloors or areas with radiant heat. Provides a strong bond but requires a perfectly level surface. Staple-down: Offers flexibility and is quicker to install than nail-down. Not recommended for high-traffic areas or concrete subfloors.
Q: What tools do I need for the installation?
A: Must-haves include a power saw for precise cuts, a mallet for gentle persuasion, a tape measure for accuracy, spacers for consistent gaps, and your chosen fastening equipment (nails, glue gun, or staple gun). Additional tools like a jigsaw or circular saw might be needed for intricate cuts.
Q: How do I deal with uneven subfloors?
A: Uneven subfloors can lead to creaking and instability. Address minor imperfections by sanding high spots and patching low areas. For significant unevenness, professional leveling might be necessary before installation.
Q: What’s the best way to maintain my new hardwood floor?
A: Regularly sweep and vacuum to remove dust and debris. Promptly clean up spills to prevent moisture damage. Use appropriate cleaning products recommended for your specific wood type. Avoid excessive moisture and maintain consistent humidity levels in your home.
Q: Can I install solid hardwood in bathrooms or kitchens?
A: While possible, it’s not recommended due to high moisture exposure. Solid hardwood is susceptible to warping and water damage in these environments. Engineered hardwood might be a more suitable option for moisture-prone areas.