
Mesmerized by the captivating dance of zigzags across a herringbone floor? You’re not alone. This timeless pattern exudes elegance and adds instant depth to any space. But beyond the captivating aesthetics lies a world of meticulous planning and skillful execution.
In this article, we delve into the mystique of the herringbone installation, unveiling the intricacies and nuances of this process. Whether you’re a seasoned DIY enthusiast or simply dream of incorporating this pattern into your home, we’ll equip you with the knowledge and insights you need.
Join us as we navigate the different installation methods, from the rewarding challenge of a DIY approach to the expertise of professional contractors. We’ll explore the factors to consider, the tools you’ll need, and the key steps to achieve a flawless outcome.
Get ready to demystify the magic behind the zigzags, unravel the secrets of a successful installation, and unlock the potential of this captivating pattern to transform your space. So, step into the world of herringbone flooring and prepare to be inspired!
The Herringbone Installation: Orchestrating a ZigZags Masterpiece
The alluring charm of herringbone flooring, with its mesmerizing dance of zigzags, has captivated design enthusiasts for centuries. While its timeless beauty undoubtedly elevates any space, its intricate pattern can evoke concerns about the installation process. However, fear not!
This comprehensive guide will serve as your conductor, orchestrating a flawless herringbone installation, whether you prefer the rewarding challenge of a DIY approach or the peace of mind offered by professional expertise.
Planning the Performance:
- Choosing Your Maestro: Determine if you will conduct the installation yourself (DIY) or enlist the skilled hands of a professional. Consider your comfort level, skillset, and project complexity.
- Knowing Your Material: Each material, from the regal elegance of solid wood to the practical versatility of laminate, necessitates specific installation techniques. Familiarize yourself with the unique requirements of your chosen material.
- Charting the Course: Meticulously measure your space, create a detailed layout accounting for waste, and consider any potential challenges that might arise during the installation.
- Preparing the Stage: Ensure a level, clean, and dry subfloor – the essential foundation for a flawless performance.
The Tools of the Trade:
- Precise Measurements: Tape measure, pencil, chalk line
- Leveling the Stage: Level, straightedge
- Joining and Cutting: Jigsaw, tapping block, spacers, wedges
- Adhesive Harmony: Adhesive appropriate for your chosen material
- Safety First: Safety glasses, utility knife
- Finishing Touches: Trims, moldings, and finishing materials
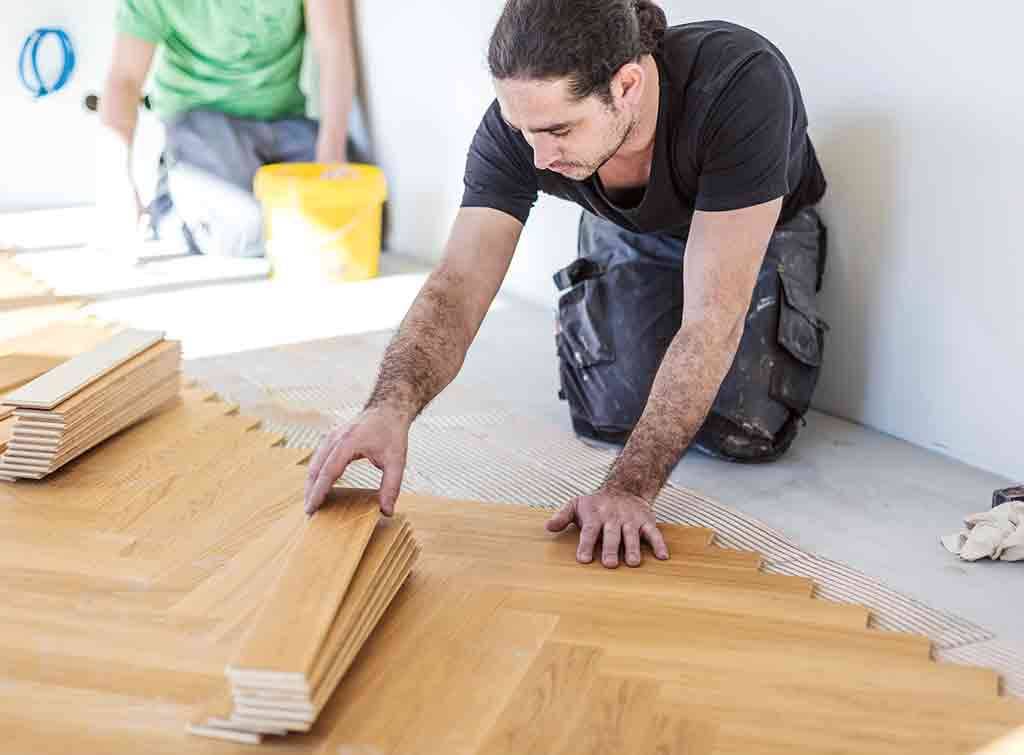
Orchestrating the Installation:
I: Dry Fitting:
- Before the adhesive flows, conduct a dry run of the planks. This allows you to visualize the pattern, identify potential challenges, and make any necessary adjustments to your layout.
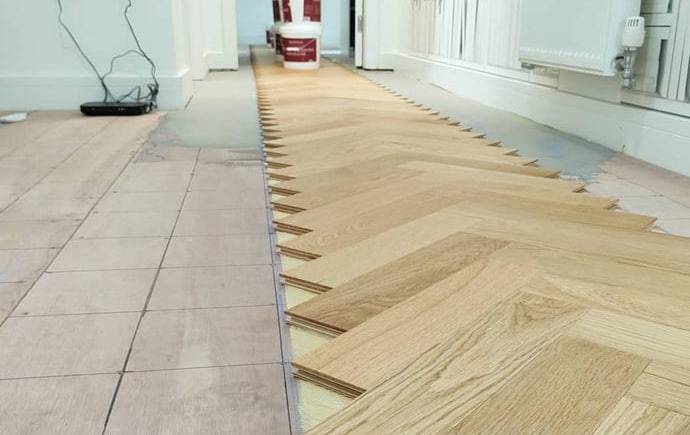
II: Setting the Stage:
- Strategically choose a prominent focal point, typically the center of the room, to begin laying the planks. This ensures a visually balanced and harmonious installation.
III: Joining the Ensemble:
- Meticulously follow the manufacturer’s instructions for joining the planks, ensuring tight seams and proper adhesive application. Remember, precision is paramount!
IV: A Methodical Journey:
- Progress systematically, meticulously checking level and alignment throughout the installation. Utilize spacers and wedges for consistent gaps.
V: Precision in Every Note:
- Pay particular attention to cuts and transitions. Employ a jigsaw and tapping block to achieve clean, professional edges.
VI: The Grand Finale:
- Install trims, moldings, and thresholds to provide a polished and cohesive finish.
Encore: Sealing and Finishing:
- Follow the recommended drying and finishing procedures for your chosen material to ensure optimal performance and enduring beauty.
The Most Important Tips Before Your Herringbone Installation: Plan Like a Pro, Install with Confidence
Sure, the captivating chevron of herringbone floors steals the show, but before you embark on the installation journey, remember this golden rule: meticulous planning is the foundation of a flawless outcome.
Here’s why planning reigns supreme:
- Avoid Costly Mistakes: Precise measurements and a detailed layout minimize waste and prevent costly material miscalculations.
- Conquer Complexity: Intricate patterns like double herringbone demand meticulous planning to ensure a smooth and visually balanced installation.
- Embrace Efficiency: Knowing your tools and materials beforehand streamlines the process, saving you time and frustration.
- Anticipate Challenges: Uneven subfloors or intricate transitions require solutions planned in advance, not improvised on the fly.
- Peace of Mind: A well-thought-out plan instills confidence, allowing you to focus on the intricate details of the installation.
Planning Pro Tips:
- Measure & Re-measure: Accuracy is crucial. Measure your space meticulously, accounting for doorways, alcoves, and any potential obstacles.
- Map It Out: Create a detailed layout, considering the pattern direction, plank sizes, and waste minimization. Sketch transitions and mark potential challenges.
- Material Mastery: Research your chosen material’s specific installation requirements, including adhesive types, tools needed, and drying times.
- Practice Makes Perfect: If you’re DIY-ing, practice laying individual planks without adhesive on a test area to identify any challenges.
- Seek Professional Guidance: Don’t hesitate to consult a flooring professional for complex projects or if you’re unsure about any aspect of the installation.
Herringbone Flooring FAQs: Your Guide to ZigZags Perfection
Is herringbone flooring hard to maintain?
It depends on the material. Solid wood requires the most care, while vinyl is easiest. Engineered wood and laminate fall somewhere in between.
Is herringbone flooring expensive?
Solid wood is the most expensive, followed by engineered wood. Laminate and vinyl are the most affordable options.
Is herringbone flooring good for small spaces?
Yes! The zigzags pattern can create an illusion of spaciousness. Lighter colors and narrower planks can further enhance this effect.
Can I install herringbone flooring myself?
While possible, it’s a complex process requiring precision. Professional installation is generally recommended for best results.
What’s the difference between solid wood and engineered wood?
Solid wood is a single piece of timber, while engineered wood has a core with a real wood veneer. Engineered wood is more stable and cost-effective.
Is laminate or vinyl good for herringbone flooring?
They offer affordability and low maintenance, but may lack the authenticity and warmth of real wood. Consider your budget and priorities when choosing.
Which material is most water-resistant?
Vinyl is the most water-resistant, followed by engineered wood with a waterproof core. Solid wood needs careful maintenance to avoid moisture damage.
What color should I choose for my herringbone floor?
Lighter colors create an airy feel, while darker tones add warmth and drama. Consider your overall design scheme and the amount of natural light in the space.
Can I use herringbone flooring on walls or backsplashes?
Absolutely! It adds a unique design element and visual interest to various surfaces.
What styles does herringbone flooring work best with?
It’s incredibly versatile! From traditional to modern, rustic to minimalist, herringbone can adapt to various aesthetics.
What are the most important things to consider before installing herringbone flooring?
Meticulous planning, choosing the right installation method (DIY or professional), and understanding your chosen material’s specific requirements are crucial.
What are the biggest challenges during the installation process?
Uneven subfloors, intricate patterns, and ensuring precise cuts and joins can be tricky.
How can I maintain the beauty of my herringbone floor?
Regular cleaning with appropriate products, prompt attention to spills, and protective measures like mats and felt pads are key.