
Navigating the Depths of Vinyl Plank Flooring: A Guide to Thickness
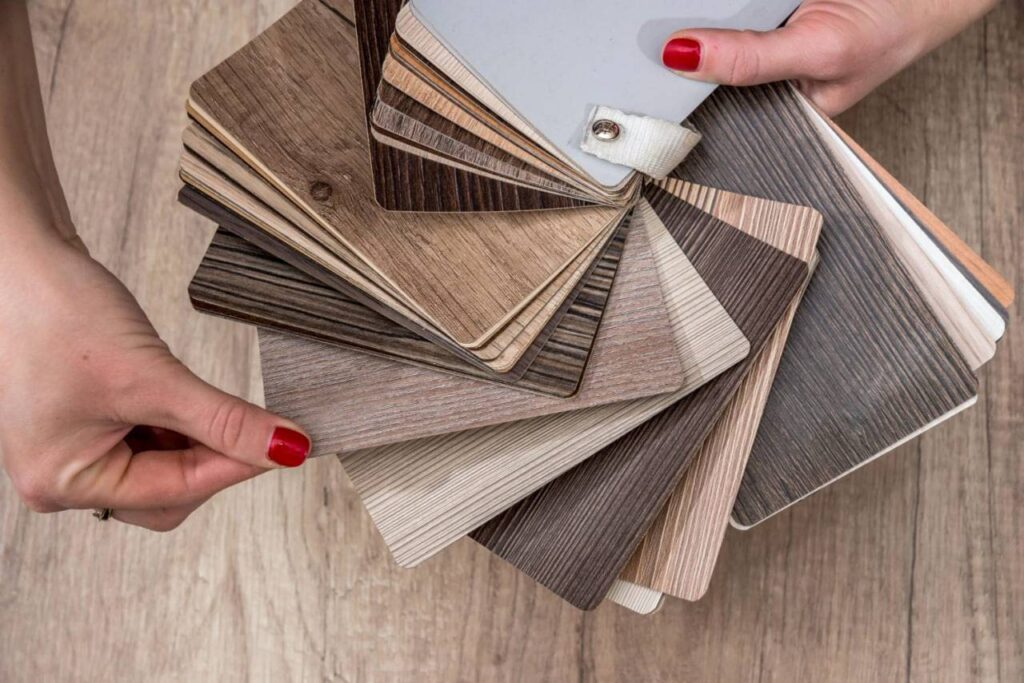
Vinyl plank flooring has emerged as a versatile and popular choice for homeowners seeking stylish, low-maintenance flooring solutions.
However, amidst the vast array of options available, one crucial aspect often stands out: Vinyl plank flooring thickness.
This guide from Dex Flooring delves into the world of vinyl plank flooring thickness, providing insights into its significance and how to select the right thickness for your unique needs.
Navigating the Realm of Vinyl Flooring Thickness
Vinyl flooring has established itself as a popular choice for homeowners seeking stylish, low-maintenance, and durable flooring solutions. Amidst the diverse range of options available, one key aspect often arises: thickness. This guide delves into the world of vinyl flooring thickness, providing insights into its significance and how to select the right thickness for your unique needs.
Deciphering Vinyl Flooring Thickness Terminology
Vinyl flooring thickness is typically measured in millimeters (mm), encompassing the overall thickness of all the layers that make up the plank. This includes the wear layer, the core layer, and the backing layer.
- Wear Layer: The wear layer, the topmost layer of the plank, acts as the protective barrier against scratches, scuffs, and other forms of wear and tear. Wear layers are typically measured in mils (thousandths of an inch), with thicknesses ranging from 6 mil to 40 mil.
- Core Layer: The core layer provides structural support and stability to the plank. It is typically made of materials such as vinyl composite tile (VCT), fiberboard, or plywood.
- Backing Layer: The backing layer provides additional support and moisture resistance. It is typically made of materials such as vinyl, asphalt, or cork.
Understanding the Role of Wear Layer Thickness
The thickness of the wear layer is the primary determinant of a vinyl plank’s durability. Thicker wear layers can withstand more wear and tear, making them suitable for areas with high foot traffic such as kitchens and hallways.
Lightly Trafficked Areas (2 mm to 3 mm Wear Layer)
For bedrooms, bathrooms, or other areas with minimal foot traffic, a thickness of 2 mm to 3 mm with a wear layer of 10 mil to 12 mil is sufficient. These thinner planks offer a more budget-friendly option while still providing adequate durability for low-traffic areas.
Moderately Trafficked Areas (4 mm to 6 mm Wear Layer)
For living rooms, kitchens, hallways, or other areas with moderate foot traffic, a thickness of 4 mm to 6 mm with a wear layer of 20 mil to 25 mil is recommended. These planks provide a balance of durability and affordability, making them suitable for everyday household use.
Highly Trafficked Areas (6 mm or Higher Wear Layer)
For commercial spaces, high-traffic areas within homes, or areas prone to heavy foot traffic, a thickness of 6 mm or higher with a wear layer of 30 mil to 40 mil is necessary. Thicker planks offer superior wear resistance and structural integrity, ensuring the flooring can withstand prolonged use without compromising its appearance or performance.
Beyond Thickness: Factors Influencing Vinyl Flooring Performance

While thickness plays a crucial role in vinyl flooring durability, it is not the sole determinant. Other factors such as the quality of the materials, the locking system, and the backing layer also contribute significantly.
- Quality of Materials: High-quality materials, such as durable vinyl resins and high-density core layers, enhance the flooring’s overall durability and lifespan.
- Locking System: The locking system ensures a secure and stable installation, reducing the risk of movement and wear over time.
- Backing Layer: A high-quality backing layer provides added moisture resistance and impact absorption, protecting the flooring from damage.
Seek Professional Guidance for Optimal Selection
To make an informed decision based on your specific needs and preferences, it is advisable to consult a flooring professional. They can assess your subfloor conditions, traffic patterns, and budget to suggest the most suitable vinyl plank flooring thickness and type for your home or commercial space.
Thicker vinyl plank flooring is typically installed using either a floating or glue-down method.
Floating Installation
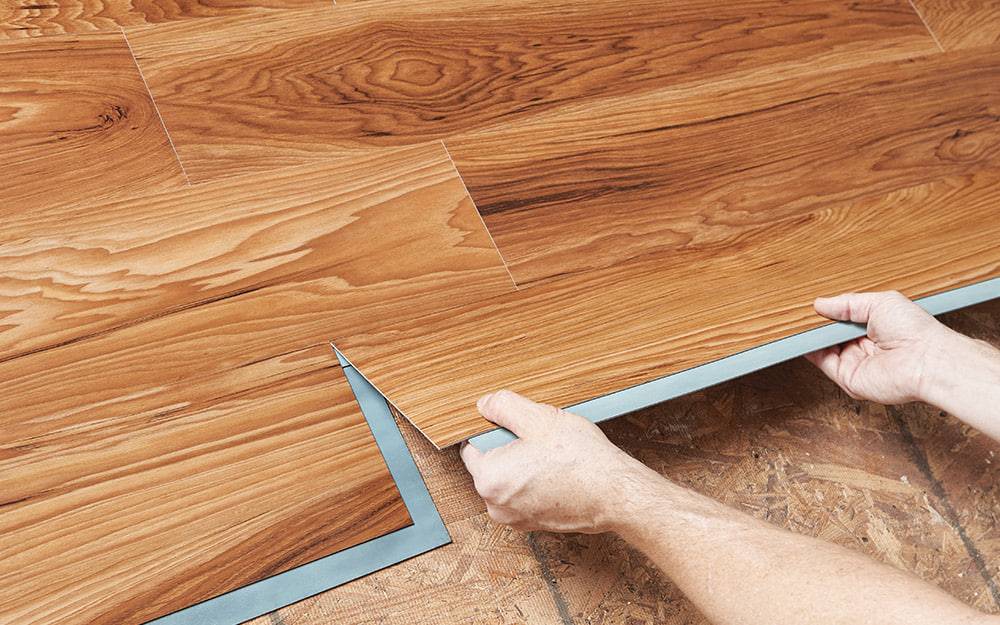
Floating installation is the most common method for thicker vinyl plank flooring. It is a self-leveling method that does not require adhesive, making it a quick and easy installation option. However, floating installations are not as durable as glue-down installations and may be more susceptible to movement over time.
Steps for Floating Installation:
- Prepare the Subfloor: The subfloor must be clean, dry, and level. Any imperfections in the subfloor can cause the planks to buckle or warp over time.
- Lay Down a Moisture Barrier: A moisture barrier is essential to prevent moisture from penetrating from the subfloor and damaging the flooring.
- Install Transition Strips: Transition strips are used to bridge the gap between different flooring types, such as vinyl plank and carpet.
- Start Laying the Flooring: Start laying the planks in a staggered pattern, ensuring that the tongue and groove of each plank interlocks securely. Use a tap block or rubber mallet to seat the planks firmly.
- Cut the Last Plank: To cut the last plank, use a jigsaw or circular saw.
- Seal the Edges: Apply a vinyl sealant to the edges of the flooring to protect them from moisture damage.
Glue-Down Installation
Glue-down installation is a more durable method that is better suited for high-traffic areas. It involves applying adhesive to the back of the planks and then adhering them directly to the subfloor.
Steps for Glue-Down Installation:
- Prepare the Subfloor: The subfloor must be clean, dry, level, and free of dust or debris.
- Apply Adhesive: Apply a thin layer of adhesive to the back of the planks, ensuring even coverage.
- Install the First Plank: Starting in a corner, carefully lay the first plank, ensuring that it is aligned properly.
- Install Subsequent Planks: Apply adhesive to the back of each subsequent plank and press it firmly into place next to the previous plank.
- Use a Jig Saw or Circular Saw to Cut the Last Plank: To cut the last plank, use a jigsaw or circular saw.
- Remove Excess Adhesive: Use a damp cloth to remove any excess adhesive that may have squeezed out from the edges of the planks.
Tips for Installing Thicker Vinyl Flooring:
- Use a Quality Adhesive: Use a high-quality adhesive that is specifically designed for vinyl plank flooring.
- Work in a Consistent Temperature: Install the flooring in a consistent temperature environment to avoid issues with expansion and contraction.
- Leave Expansion Gaps: Around perimeter walls and other obstructions, leave an expansion gap of 3-5 mm to allow for expansion and contraction.
- Proper Planning: Before starting the installation process, take the time to carefully plan the layout of the flooring to ensure a seamless and aesthetically pleasing finish.
- Seek Professional Assistance: For larger projects or if you are not comfortable with DIY flooring installations, consider hiring a professional flooring installer.
Choosing the Right Thickness for Your Luxury Vinyl Plank
When choosing the right thickness for your luxury vinyl planks (LVP), it’s important to consider the following factors:
- Foot Traffic: The primary determinant of LVP thickness is the level of foot traffic expected in the room. For lightly trafficked areas like bedrooms or bathrooms, a thickness of 2 mm to 3 mm is sufficient. For medium-traffic areas like living rooms or hallways, a thickness of 4 mm to 6 mm is recommended. For high-traffic areas like kitchens or commercial spaces, a thickness of 6 mm or higher is necessary.
- Subfloor Condition: If the subfloor is uneven or has cracks, a thicker plank will be more forgiving and less likely to buckle or warp. However, if the subfloor is in good condition, a thinner plank may be sufficient.
- Desired Comfort: Thicker planks tend to feel more comfortable underfoot, especially in areas with cold floors. They also provide better sound insulation, which can be helpful in areas with loud traffic or noise from the outside.
- Budget: Thicker planks are generally more expensive than thinner planks. However, they will also last longer and require less maintenance.
Here is a general guide to LVP thickness:
- Light Traffic (Bedrooms, Bathrooms): 2 mm to 3 mm
- Moderate Traffic (Living Rooms, Hallways): 4 mm to 6 mm
- High Traffic (Kitchens, Commercial Spaces): 6 mm or higher
Here are some additional tips for choosing the right LVP thickness:
- Consult with a flooring professional: They can assess your specific needs and recommend the best thickness for your home.
- Consider the overall style of your home: If you are going for a modern look, a thinner plank may be more appropriate. However, if you prefer a more traditional look, a thicker plank may be a better choice.
- Be aware of the warranty: Some manufacturers may void their warranties if you install LVP in an area that is not suited for the thickness of the plank.
By following these tips, you can choose the right thickness for your luxury vinyl plank flooring and enjoy years of beauty and durability.
FAQs about Vinyl Plank Flooring Thickness
Q: What is the thickness of vinyl plank flooring?
A: Vinyl plank flooring thickness typically ranges from 2 mm to 8 mm. The wear layer, which is the topmost layer of the plank that protects it from scratches and scuffs, is typically measured in mils (thousandths of an inch). Wear layer thicknesses range from 10 mil to 40 mil.
Q: What is the difference between wear layer thickness and overall thickness?
A: Wear layer thickness is the most important factor in determining the durability of vinyl plank flooring. A thicker wear layer can withstand more wear and tear, making it suitable for areas with high foot traffic. Overall thickness also plays a role in determining the flooring’s performance. A thicker plank overall can provide a more robust feel and be less susceptible to cupping or curling, especially over uneven subfloors. However, thicker planks can also be more expensive.
Q: What is the best thickness for vinyl plank flooring?
A: The best thickness for vinyl plank flooring depends on the specific application and desired level of durability. For lightly trafficked areas like bedrooms or bathrooms, a thickness of 2 mm to 3 mm may suffice. For more heavily trafficked areas, such as kitchens or hallways, a thickness of 4 mm to 6 mm is recommended. For commercial spaces with extreme foot traffic, a thickness of 6 mm or higher may be necessary.
Q: What are the pros and cons of thicker vinyl plank flooring?
Pros:
- More durable
- Less likely to cup or curl
- More comfortable underfoot
- Better sound insulation
Cons:
- More expensive
- Heavier
- May not be suitable for all subfloors
Q: What is the difference between floating and glue-down installation methods for vinyl plank flooring?
A: Floating installation is the most common method for thicker vinyl plank flooring. It is a self-leveling method that does not require adhesive, making it a quick and easy installation option. However, floating installations are not as durable as glue-down installations and may be more susceptible to movement over time. Glue-down installation is a more durable method that is better suited for high-traffic areas. It involves applying adhesive to the back of the planks and then adhering them directly to the subfloor.
Q: What are the best tips for installing thicker vinyl plank flooring?
- Use a quality adhesive for glue-down installations.
- Work in a consistent temperature environment.
- Leave expansion gaps around perimeter walls.
- Properly plan the layout of the flooring.
- Consider hiring a professional for larger projects.